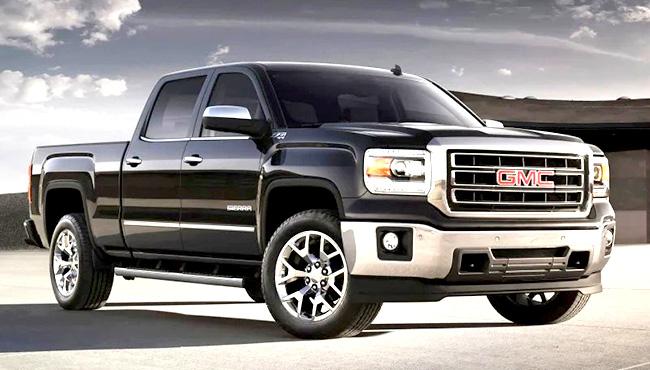
There are a lot of reasons to change 2014 GMC Sierra oil. A 2014 GMC Sierra is an excellent vehicle with many great features that make it so desirable – but just as any other car, 2014 GMCs need regular maintenance and care to keep them running smoothly. Changing 2014 GMC Sierras’ oil regularly helps ensure the engine runs reliably for years to come, while also keeping your 2014 GMC in top shape day-to-day.
So, let’s learn about oil changin 2014 GMC Sierra in the 2014 GMC Sierra.
2014 GMC Sierra Oil Change Guide [hide]
What is the 2014 GMC Sierra Oil Type?
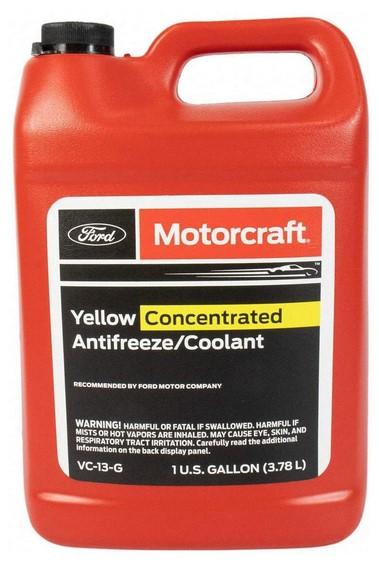
The 2014 GMC Sierra requires SAE 0W-20 for its 5.3L or 6.2L V8 engine and SAE 5W-30 for its 4.3L V6 or 6.0L V8 engine. GMC recommends that you use synthetic oil when replacing the car’s engine oil. Conventional and synthetic oils are two different types of oil available. Synthetic is newer and engineered to give You better wear performance than the older conventional oil option. You will change synthetic oil every 7,500 miles compared to the recommended 3,500-5,000 miles with conventional. Check Your oil level at least once a month to make sure the engine is full and free from any debris.
2014 GMC Sierra capacity: Engine Size – Quarts of Oil – Oil Type
- 4.3L V6: 6: 5W30
- 5.3L: V8 8.5: 0W20
- 6.0L: V8 6: 5W30
- 6.2L: V8 8.5: 0W20
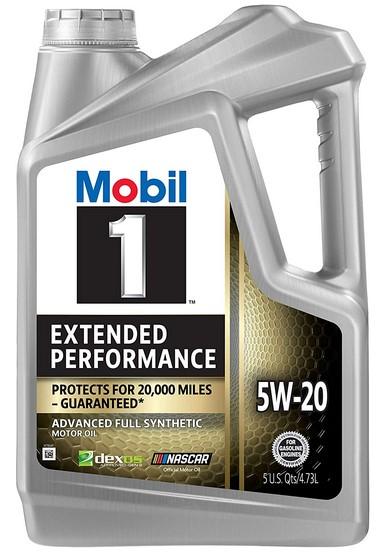
Best oil for 2014 GMC Sierra
The best oil for a 2014 GMC Sierra would be the standard motor oil. The grade of oil is based on the level of viscosity, or thickness and heavy-duty nature. This type will provide increased protection against wear in engine parts such as pistons, cams, valves etc., with its thicker consistency than other types like synthetic oils. It also provides better heat dissipation because it has more natural resistance to high temperatures compared to some lighter weight alternatives that could breakdown quickly under pressure from stress and friction when an engine heats up.
This type of oil also helps protect against corrosion by forming a coating around metal surfaces which prevents moisture seeping into them while they are exposed in humid environments due to rain water washing dirt away.
2014 GMC Sierra Oil Change Intervals
The 2014 GMC Sierra has an engine that is designed to last a long time. This means it requires oil changes less often than traditional engines, and the intervals are different depending on which type of transmission your vehicle has: manual or automatic. The number of miles you travel between oil changes will also affect how frequently you’ll need one done in your GMC Sierra. In either case, be sure to check for signs so as not to wait too long before getting yours changed out!
NOTES:
- Manual Transmission – Greater than 12 months/12,000 miles recommended.
- Automatic Transmission – Less than 24 Months/24,000 Miles Recommended.
We recommend 2014 GMC Sierra oil change every 12,000-15,000 miles. Factors such as your driving habits and road conditions can affect the 2014 GMC’s engine life, so it is important to consult your owner’s manual or call a professional for the most accurate info.
Oil Check in 2014 GMC Sierra

You should periodically check your car’s oil level. To get the most accurate reading, make sure your engine is off and your vehicle is on flat ground. Accuracy will also be increased when you check a cold engine (off for two hours) before turning it back on. If you cannot wait two hours, the engine must be off for at least 15 minutes if the engine is warm and 30 minutes if not. Check your vehicle’s owner’s manual for the proper procedure to check your oil level. When checking your oil levels, follow these instructions:
- First, make sure your engine is off.
- Then open the hood and locate the dipstick near the base of the oil filler tube on top of the passenger side valve cover.
- Pull out and wipe clean with a paper towel or rag to avoid any contamination from previous checks (oil can be slippery). If necessary, use one hand for dipping while the other hand wipes clean sticks – then reverse hands if need be. Use caution not to touch engine parts with the same hand that holds the dipstick as this may contaminate reading by transferring metal particles onto sticks which are difficult to remove without washing thoroughly in solvent first (engine fluids will usually do). Do not let go until you have dipped all the way back into place.
How to Change Oil in 2014 GMC Sierra: Step-By-Step Guide
The following is a list of tools you need to change the oil on a vehicle by yourself. If you already own them, gather them in a suitable location where you will be changing the oil. But if they are new purchases, then they can be found at your nearest auto repair shop, hardware store or from our link below.
Required Tools:
- Oil Drain Pan
- Socket Set
- Oil funnel
- Oil Filter Pliers
- Car Ramps
- Jack Stands
Well, if you get all tools, let start:
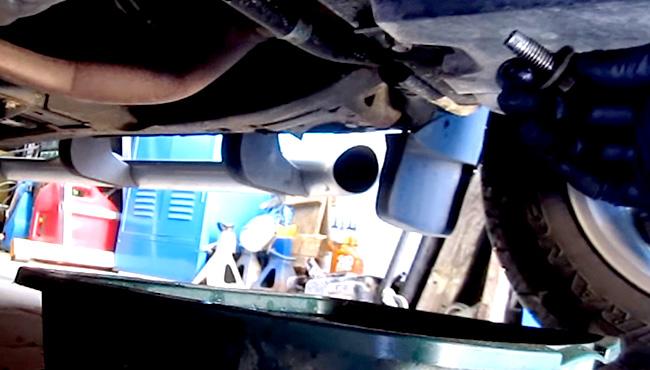
To properly prepare your engine for an oil change, start by warming up the engine in the vehicle and on a level surface. Next, engage the emergency brake and place wheel blocks in front of each tire to prevent movement. After that point, turn off the SUV’s engine and open its hood. Use a screwdriver to detach any bolts you see until your reach one near what looks like an exposed fuse box tucked away behind air filters . The yellow dipstick is attached to this bolt with a metal loop . Carefully remove it from its position before lifting it about two inches out of its housing here as well .
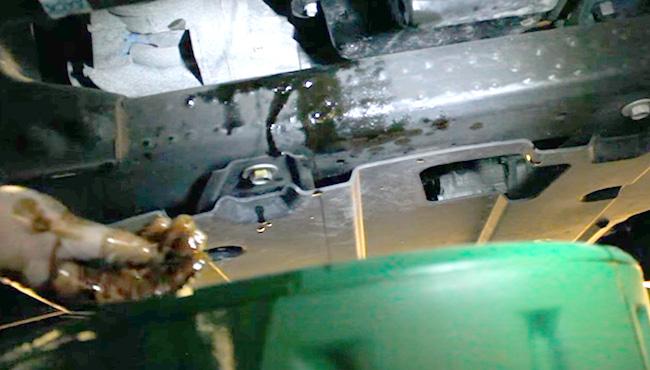
To avoid creating a vacuum when removing your car’s old oil, pull up on the dipstick and remove the oil filler cap. To keep from spilling or dripping on yourself while draining your engine, use a floor jack to raise the front end of your SUV off the ground. Slide under it and place an empty container below your oil-drain bolt. Be careful to loosen the bolt in a counterclockwise motion only – never tighten it back up. Allow any old oil to purge from your engine for at least a few minutes before tightening it back up again with caution not go too tight this time around.
Some cars require that you replace the clutch with a new one on occasion. Make sure you have extra replacements when necessary.
Tighten the oil drain bolt with a 15mm socket and 3/8″ drive ratcheting wrench until they reach hand tight or about 20 to 25 ft-lbs of torque. The best place to access the old oil filter is from the top of the engine bay, just under where your car’s alternator is located. Turn off and twist off the old oil filter in a counterclockwise direction.
To loosen the old oil filter and avoid making a mess, consider using an oil filter wrench such as the Lisle 63600. Fingers should be dipped into some new SAE 5W-30 oil first in order to lubricate the rubber o-ring gasket on the new filter by applying pressure when tightening it. Make sure that no pieces of the rubber seal are still attached to the engine before closing off access and sealing the container for better results during the next oil change.
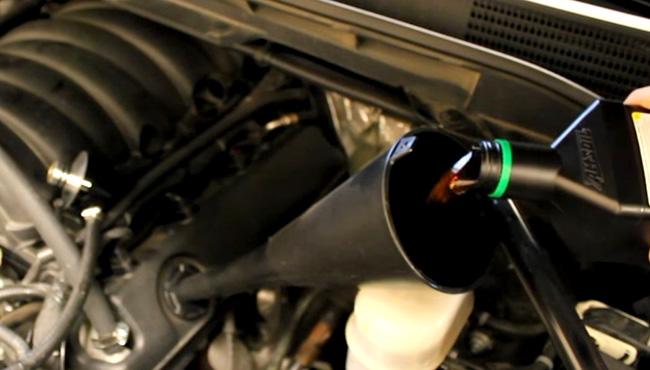
When you do an oil change on your car, pour in between 5 and 6 1/2 quarts of oil. Leave the engine intake plug out for now so that there is enough room inside the engine to put the new reservoir of oil. Put the dipstick back in its socket so you can check if you need more or less oil later on.
Run the engine for a few minutes, turn it off and allow it to rest for 5-10 minutes while new oil flows down. Pull out the dipstick, clean and reinsert. Check the level by pulling out again; add more if necessary until the full/max area is reached.
You may not need to pour in the entire 6 quarts of new SAE 5W-30 oil depending on how long you allowed the old oil to drain out. Pull out the yellow handled dipstick, wipe it clean, re-insert it and pull it out again to check for clear instructions describing where along the tube that is top feels a marker that indicates “Full”, or “Max” level.
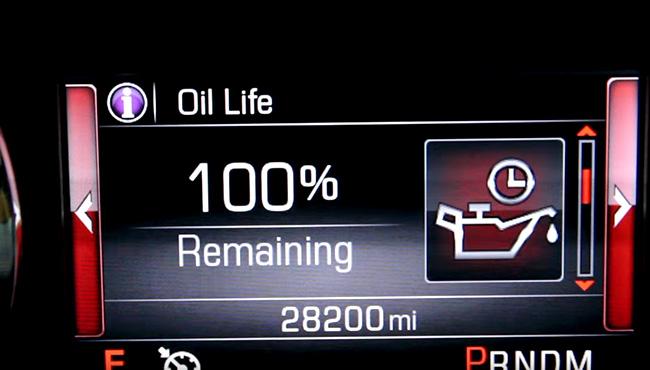
To reset the engine oil life system, follow these steps: turn the ignition to “On” or “Run,” place the car in Park and press the trip odometer reset button. Press it until “oil life remaining” appears on-screen then press and hold for 10 seconds. You’ll hear three chimes and you will be prompted to change your engine oil soon.
Look around your garage, driveway and parking space for any signs of recent oil. The drain bolt as well as the new filter may have been leaking and you will want to tighten them at this point.
2014 GMC Sierra Oil Change Light Reset Guide
Vehicles of this generation are powered by a new series of improved power units. The 4.3 L V6 engine, the 4.8 L, 5.3 L, and 6L V8 engines (which produce 195 hp, 295 hp, 315 hp, and 363hp respectively) were confirmed.
If the oil life has exceeded the specified service interval and a change engine oil soon message flashes on your vehicle’s readout, you will need to perform an oil change. The process to reset varies by vehicle model but here are some general instructions for 2014 GMC Sierra:
The simple way to reset the oil life of this vehicle is by pressing the accelerator pedal 3 times. Here’s how:
- Simply set the car’s ignition to “run.”
- If you have a keyless start on your vehicle, hold the ENGINE. START/STOP button without pressing the brake pedal.
- Fully depress the gas pedal three times in quick succession.
- Ensure the button is completely pressed before turning on your computer.
- Turn off the engine.
- Start the engine by pressing the ENGINE START/STOP button once.
- Start the engine to check that the indicator has been reset.