Looking for a guide to 2013 Ford Fusion oil change? You’ve come to the right spot!
In this article, we’ll provide detailed instructions on how to change the oil, as well as list down the parts you’ll need to do the job.
Make sure to read every section, so you don’t miss out on any crucial points.

2013 Ford Fusion Oil Change Guide [hide]
2013 Ford Fusion Oil Type
Before going on to instructions, make sure that you have the right 2013 Ford Fusion oil type. Here’s what the 2013 Ford Fusion owner’s manual suggests.
Viscosity Grade
Ford recommends using SAE 5W-30 viscosity for 1.6L and 2.0L EcoBoost engines and SAE 5W-20 for 2.5L engine.
Capacity
The oil capacity of 1.6L engine is 4.3 quarts (4.1 liters), whereas for 2.0L and 2.5L engines, the capacity is 5.7 quarts (5.4 liters)
Specification of Oil
Ford recommends using Motorcraft Premium Synthetic Blend or Premium/Full Synthetic Oils in the viscosities defined above. You can also use an oil that meets the Ford specification and is certified by American Petroleum Institute (API) for gasoline engines.
2013 Ford Fusion Oil Change Intervals
To ensure your car runs smoothly and has a long life, you need to follow the proper maintenance schedule.
According to the owner’s manual, this model is equipped with an oil change sensor (Intelligent Oil-Life Monitor) that tells you when it’s time to change engine oil. However, they also mention the oil change interval:
- Up to one year
- 10,000 miles (16,000 km)
Ford recommends not exceeding this interval and if the monitor stops working, then change oil at 5000 miles or six months frequency. It also mentions changing the oil within a week or 500 miles when the Change Oil message comes on.
Best Oil for 2013 Ford Fusion
If you’re wondering what oil should I use, here are the best types of motor oils, as well as, oil filters.
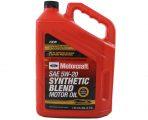
Oil (By Manufacturer) – Ford recommends using Genuine Motorcraft Synthetic Blend Motor Oil SAE 5W-20. If you have the 2.5L engine, go for the 5W-30 motor oil weight.
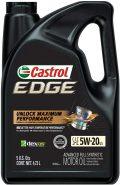
Oil (Our Choice) – Our recommendation, based on the oil viscosity chart in the manual, is Castrol Edge Advanced Full Synthetic 5W-20 Motor Oil. It’s a premium quality engine oil that really improves performance.
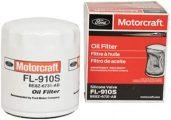
Oil Filter (By Manufacturer) – Ford recommends (and we too) that you use the Motorcraft FL-910S Oil Filter, which is fully compatible with your vehicle.
Required Tools
You need proper oil change tools to change oil even when doing it in your own garage. These tools are a one-time investment that will come in handy every time your car needs an oil change. Here’s what you need:
✔️Oil Drain Pan – Instead of using any tray or pan at home and running it, buy a professional drain pan. The Lumax LX-1632 Drainmaster is a great drain pan and storage that can hold up to 15 quarts of oil.
✔️Socket Set – The most common equipment used in car maintenance is a socket, so a quality socket set is essential. Stanley Drive Socket Set will cover all your socket needs with a wide range of sizes in a neatly packed case with ratchets and a screwdriver as well.
✔️Oil Funnel – You need all the accessories for an oil change to do it conveniently, one of which is the oil funnel, so there are no spills. The Majic 4-piece funnel set is quality and can be used for other stuff as well, other than an oil change. (Make sure not to use it for food).
✔️Oil Filter Pliers – Another important oil changing equipment is oil filter pliers that help remove and install the oil filter in the car. The TEKTON Oil Filter Pliers are simple, inexpensive, and compatible with oil filters of 2 ¼ inches to 4 ½ inches in diameter.
✔️Car Ramps – FloTool 11912 RhinoRamps Vehicle Ramps are super convenient for when you want to work under the vehicle.
✔️Jack Stands – Supplies such as jack stands can come in handy every time you need to do an oil change and may even be better than a ramp. Big Red Torin Steel Ramps are one of the best in the market right now.
How to Change Oil By Yourself – Step by Step
We’re going to list down the instructions step-by-step as per the tutorial, so even the most rookie driver changing oil for the first time can do a great job.
Step 1: Prep
You’re going to need all the tools we discussed in the last section, as the first order of business is to remove the oil filter and drain the oil already in the engine. So make sure all your tools are handy before you get under the hood. You can also use an alternative to oil filter pliers, as shown in the video.
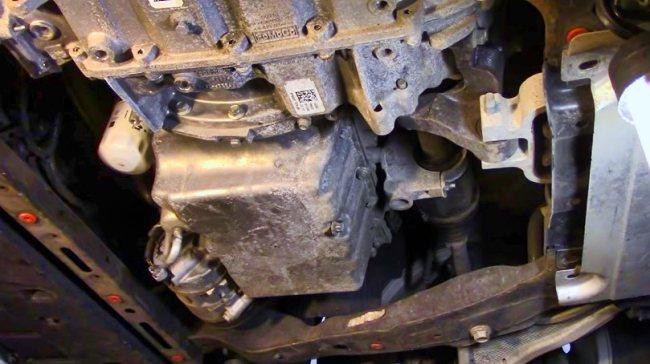
Step 2: Remove the Cover
To get to the oil drain and oil filter, you’ll first need to remove the panel/cover from under the vehicle. For that, you can use an air gun if you have or do it by hand using a socket (15 mm) and number 27 torque. You can also use a speed handle.
Ideally, you would want to get the vehicle lifted, so you can easily get under the vehicle. At home, you can use ramps or even a jack to lift it up a bit for easy access.
Whatever tool you’re using, start unscrewing the cover, one screw at a time. Make sure to keep one hand on the cover when removing the last screws so it doesn’t fall down on you.
Once removed, place the cover and screws on one side.
Step 3: Draining the Oil
You can see the oil drain plug on the back end of the bottom and on the front, the oil filter.
First of all, move the drain pan under the plug.
Now, loosen the plug with a wrench or ratchet. Make sure the pan is underneath when you start to remove it by hand.
Important: Don’t use an open-end wrench because you can remove the end of the plug too, so use the other closed-end or a ratchet.
Step 4: Put Back the Drain Plug
Once all the oil has been drained, screw back on the drain plug. Make sure to inspect the gasket on the plug whether it’s in good condition or not. If it isn’t, you’re going to need to replace it. Wipe off any oil residue around the plug.
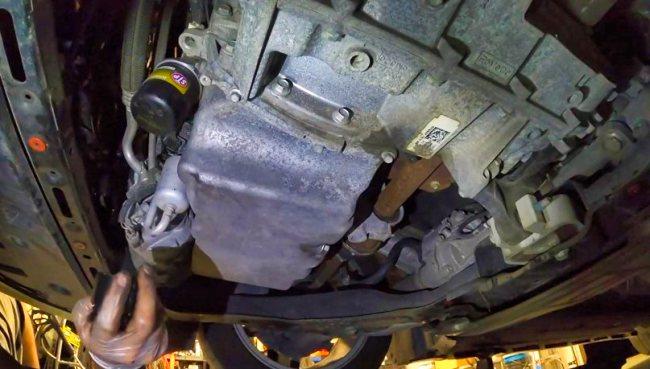
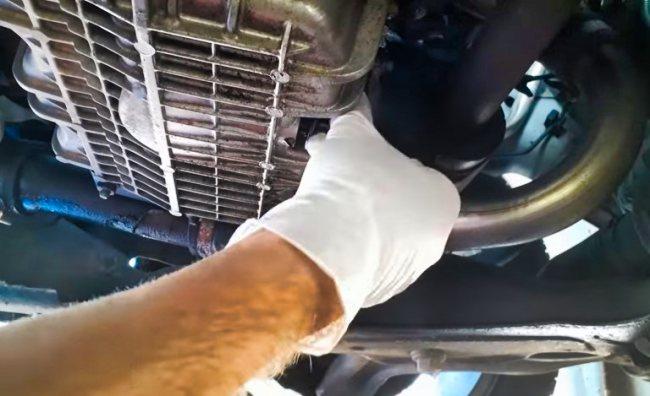
Step 5: Replace the Oil Filter
Move the drain pan underneath the oil filter, as some oil would drain out from there as well.
Use the oil filter pliers to loosen the filter, and when you do, let the pan collect all the remaining oil.
In the meantime, open the new filter and put just a little bit of oil (the new oil, not the old one) around the edges.
Once the oil has drained, remove the old filter. (Use gloves so the oil doesn’t get on your hands).
Use a cleaning cloth to wipe any residue and dirt around the area where the filter is.
Now, put the new filter in using your hands and tighten it. No need to use any tools or pliers for this.
Step 6: Put Back the Cover
All the tasks underneath the vehicle are done, and now you can put the cover back on. Make sure to tighten the screws properly.
Step 7: Add the New Oil
Remove the cover of the hood and remove the cap of the oil reservoir. Make sure that you’re using the correct viscosity of the oil, as recommended by the manufacturer. Also, make sure you purchase the right amount to match the capacity. (4.3 or 5.7 quarts)
On Ford Fusion, the cap has the oil weight printed on it, so you can double-check before adding it.
Insert the funnel into the opening. You can use any size, but four to five inches is good.
Now, add the oil through the funnel. You can add 5.5 quarts if your engine takes 5.7 quarts as it’s easier to measure with single quart bottles. You check later if it needs more. Put the cap back on.
Turn on the engine and let it stay on for a few minutes. Do the dipstick check to see if the level of oil is in the normal range. There are two markers, max and min, and it should be near max ideally. You can top it off a bit if it’s too near the end mark.
Repeat the same procedure as you did before to add more oil.
Take a look underneath the hood to ensure that the oil isn’t leaking.
Close the hood!
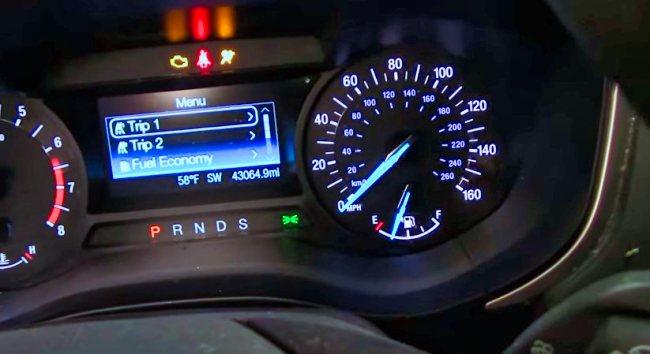
Oil Change Light Reset Instructions
Once you’ve added the new oil, you’re not quite done yet, as you need to reset 2013 For Fusion oil change light reset instruct.
Here’s how you do it the easy way:
- Turn on the ignition, not the engine (so one place before the engine).
- Now, press both gas and brake pedals at the same time, for at least three seconds.
- You’ll see the message appear ‘Service: Oil Reset in prog.”
- After about 25 seconds, the message will change to ‘Oil Reset Complete.’
- Now, remove your feet from the break and gas pedals.
- Turn the ignition off and then start the car again, and you won’t see the oil change light again.
You can also do it using the Settings menu, by going into Vehicle > Oil Life Reset and reset it to 100 percent. You can see the process at the end of the tutorial as well.