The 2010-2013 Toyota Venza is a great vehicle that came with many innovative features. However, it can’t run forever without routine maintenance. One of the most important tasks you need to do for your car on a regular basis is changing the oil. This guide will give you step-by-step instructions on how to change the oil in a 2010-2013 Toyota Venza.

2010-2013 Toyota Venza Oil Change Guide [hide]
2010-2013 Toyota Venza Oil Type

Use the recommended oil type for your 2010-2013 Toyota Venza to ensure optimal performance. The engine in your Venza uses either a synthetic blend or full synthetic motor oil depending on the engine’s production date. You can find this information in the owner’s manual.
If you don’t have the owner’s manual, check under the hood of your car on the white sticker that displays the recommended viscosity and SAE rating of the oil.
VISCOSITY GRADE
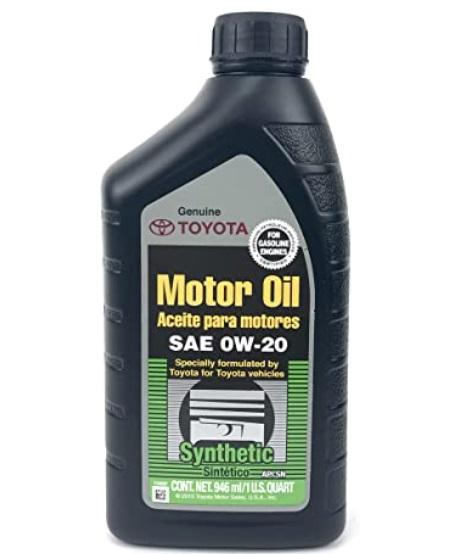
Toyota recommends using engine oil “Toyota Genuine Motor Oil” of viscosity SAE 5W-20 or SAE 0W-20. However, SAE 0W-20 is the best choice for good fuel economy and good starting in cold weather.
CAPACITY
The oil capacity 1AR-FE engine with filter is 4.6 quarts (4.4 liters), and without filter, the capacity is 4.2quarts (4.0 liters).
Whereas, for 2GR-FE engine without filter, the capacity is 6.0 quarts (5.7 liters) and with filter, the capacity is 6.4 quarts (6.1 liters).
SPECIFICATION OF OIL
Use Toyota-approved “Toyota Genuine Motor Oil” or equivalent to satisfy the grade and viscosity said above. Only use engine oil that meets Toyota Genuine Oil Quality Standard (QS-01).
The Venza takes a 0W-20 motor oil, which is a synthetic blend.
A synthetic blend is a mixture of full synthetic and conventional motor oils. A synthetic blend oil provides better high-temperature protection than conventional oil, and it also helps keep engines clean.
0W-20 MOTOR OIL – this number stands for the viscosity of the oil when cold. The lower the number, the thinner the oil, which allows it to flow more easily at low temperatures. 0W-20 is a good choice for all climates because it flows well in cold weather and resists thickening up in hot weather.
You can use oil from this list of brands to change your engine oil in 2010-2013 Toyota Venza:
- Castrol
- Pennzoil
- Valvoline
- Mobil
Or any other brand that produces a 0W-20 motor oil.
2010-2013 Toyota Venza Oil Change Intervals
All Toyota Venza vehicles have a standard oil change interval of every seven thousand miles.
However, the vehicle manufacturer does not recommend this as it is recommended to use engine oil that has been tested and approved by the company for all standards they hold themselves to.
Oil changes can also be delayed or skipped without harming your car if you are using a synthetic blend that is rated at 0W-20. If you are using a full synthetic, it can be pushed out to up to ten thousand miles.
Best Oil for 2010-2013 Toyota Venza
When it comes to keeping your car running smoothly, the type of oil you choose is critical. Many people don’t realize that not all oils are created equal – some perform better in certain situations than others. So, what’s the best oil for a 2010-2013 Toyota Venza?
Oil (By Manufacturer) – Toyota recommends using “Toyota Genuine Motor Oil” SAE 5W-20 or SAE 0W-20.
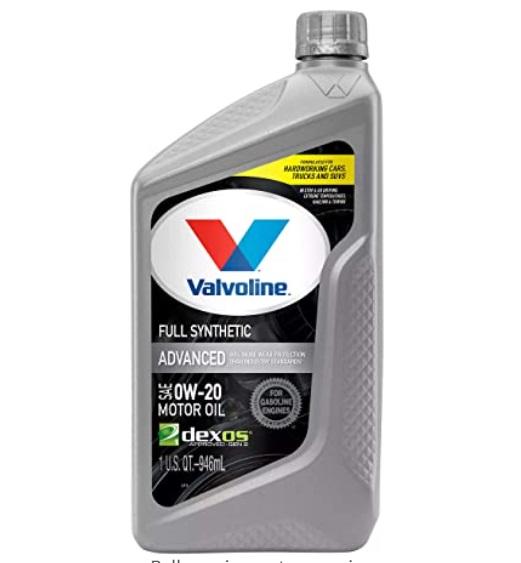
Oil (Our Choice) – Valvoline Advanced Full Synthetic SAE 0W-20 Motor Oil. The miles you put on your hardworking engine come with wear that can eventually lead to engine failure without proper protection. That’s why you need Valvoline Advanced Full Synthetic.
Aging oil in modern engines can break down and leave a critical gap in protection. But Valvoline Advanced Full Synthetic includes anti-wear additives for 40% greater protection than industry standards. Powerful system detergents reduce deposits on engine surfaces.
And demanding weather conditions are no match for Valvoline Advanced Full Synthetic.
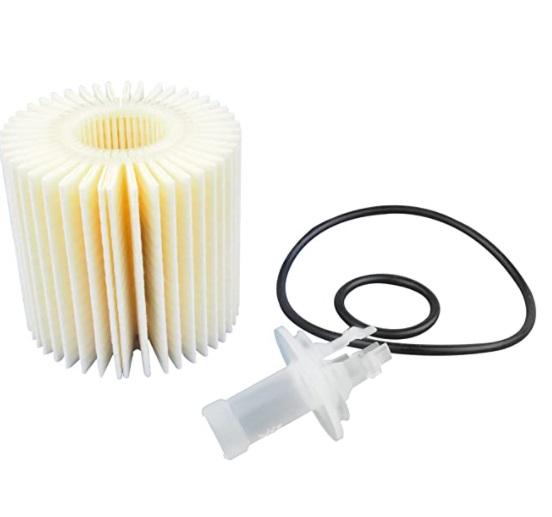
Oil Filter (By Manufacturer) – Toyota recommends using a Genuine Toyota Oil Filter.
How to Change Oil By Yourself – Step by Step
STEP 1: PREP
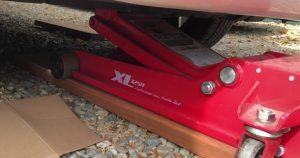
So first you want to jack up the car with your floor jack, get it high enough to where you can put the jack stands on each side of the car. And then you’re going to want to lower the car onto the jack stands.
STEP 2: REMOVE THE COVER
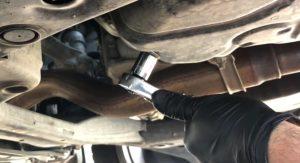
The next step is locating the engine’s drain plug. This is generally located on the bottom of the engine near where it meets the transmission. Use your pan or container to catch any old fluid that drains out when you remove the plug.
STEP 3: DRAINING THE OIL
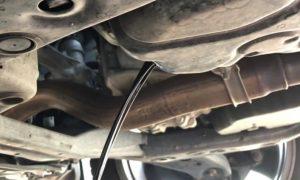
Once you have removed the drain plug, wait until all of the old oil has drained out before moving on to the next step.
STEP 4: PUT BACK THE DRAIN PLUG
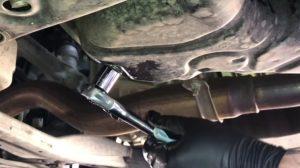
After you are done draining the oil, put the drain plug back in and tighten it. Be sure to use a torque wrench to make sure it is tight enough.
STEP 5: REPLACE THE OIL FILTER

The next step is removing the old oil filter. This is generally a very simple process, but it’s important not to damage the new filter. Use your wrench to loosen the filter until it comes free. Be careful not to spill any of the old oil as you remove the filter. Dispose of the used filter in accordance with local regulations.
Next, install your new oil filter using your wrench. Make sure that it’s tight enough that it won’t come loose, but be careful not to over-tighten it and damage the rubber gasket.
STEP 6: ADD THE NEW OIL
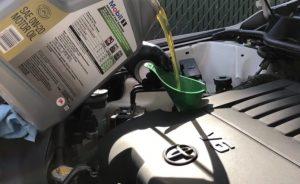
There are two ways to add oil, either through the engine’s dipstick tube or by using a funnel. It is better to use a funnel because it prevents spillage and backflow into the pan when adding oil. Add new motor oil until you see that its level has reached the “Full” mark on your car’s dipstick tube.
Then starting up the engine just long enough for everything in there to get nice and lubricated by the new fluid inside of it.
And now the work on changing the oil can be considered complete!


