The 2017 Nissan Rogue is a compact crossover SUV that seats five passengers and comfortably fits their belongings. This type of car will save you money in repairs over time while still giving you all the luxury features that come with it. So, in this guide you will learn how to change the oil in your Nissan Rogue by yourself using basic hand tools and following these easy steps. Here’s how to change oil by yourself – step-by-step guide!

2017 Nissan Rogue Oil Change Guide [hide]
2017 Nissan Rogue Oil Type

If you want to change oil in your 2017 Nissan Rogue by yourself, take a look in your owner’s guide for instructions. Changing the oil and filter by yourself is a task that only takes about 5 minutes to do.
One of the easiest ways to protect your investment and maximize resale value is to ensure you keep up with all recommended maintenance, especially regular oil changes.
VISCOSITY GRADE
Use 0W-20 oil for this engine, but you can also use 5W-30 for your 2017 Nissan Rogue, as it is also recommended by the manufacturer.
CAPACITY
The oil type for a 2017 Nissan Rogue is a full synthetic at 0w-20 and the 2.5 l 4Cylinder engine can hold up to 4.9 quarts with a new filter.
SPECIFICATION OF OIL
It is recommended for 2017 Nissan Rogue engine to use special type of oil. According to the owner’s manual, the best choice for this specific car is the Genuine Nissan Engine Oil or SAE 5W-30 and API Certification Mark.
HIGH MILEAGE OIL FOR 2017 Nissan Rogue
Choose Mobil 1 High Mileage full synthetic motor oil 0W-20 as it is designed for engines with over 75,000 miles to go up to 10,000 miles between oil changes.
2017 Nissan Rogue Oil Change Intervals

If you’re a driver of Nissan Rogue vehicles, your best bet is to change the oil every 7500 – 10000 miles. It may seem like an unattainable goal but it can be done with some effort and planning in advance! Make sure that when changing out synthetic oils for conventional ones on these models (or any other type), do so at 3000 or 5000 depending upon manufacturer recommendations as opposed them following their schedule alone without regard towards what time has passed since last service station visit.
The following guide is intended to help you do this yourself.
Best Oil for 2017 Nissan Rogue
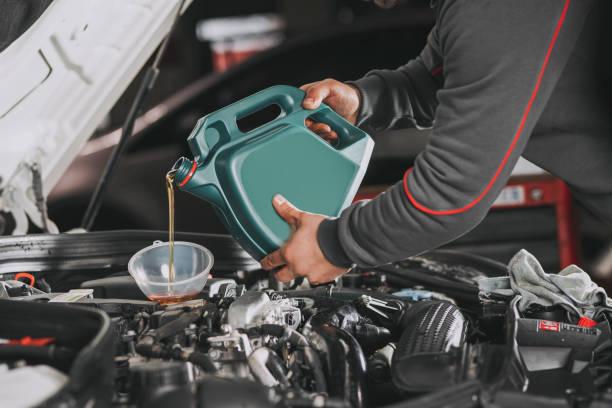
There are different kinds of oil available in the market, but when it comes to Nissan Rogue, you will see that 0w20 is one of the most prominent choices that people go for. This kind of oil is good because not only does it work great in your vehicle but also helps in extending its life.
When talking about cars, oil plays an important role. It removes harmful particles that could damage your vehicle in the long run. If you were looking for the best oil for your 2017 Nissan Rogue, you’re in the right place!
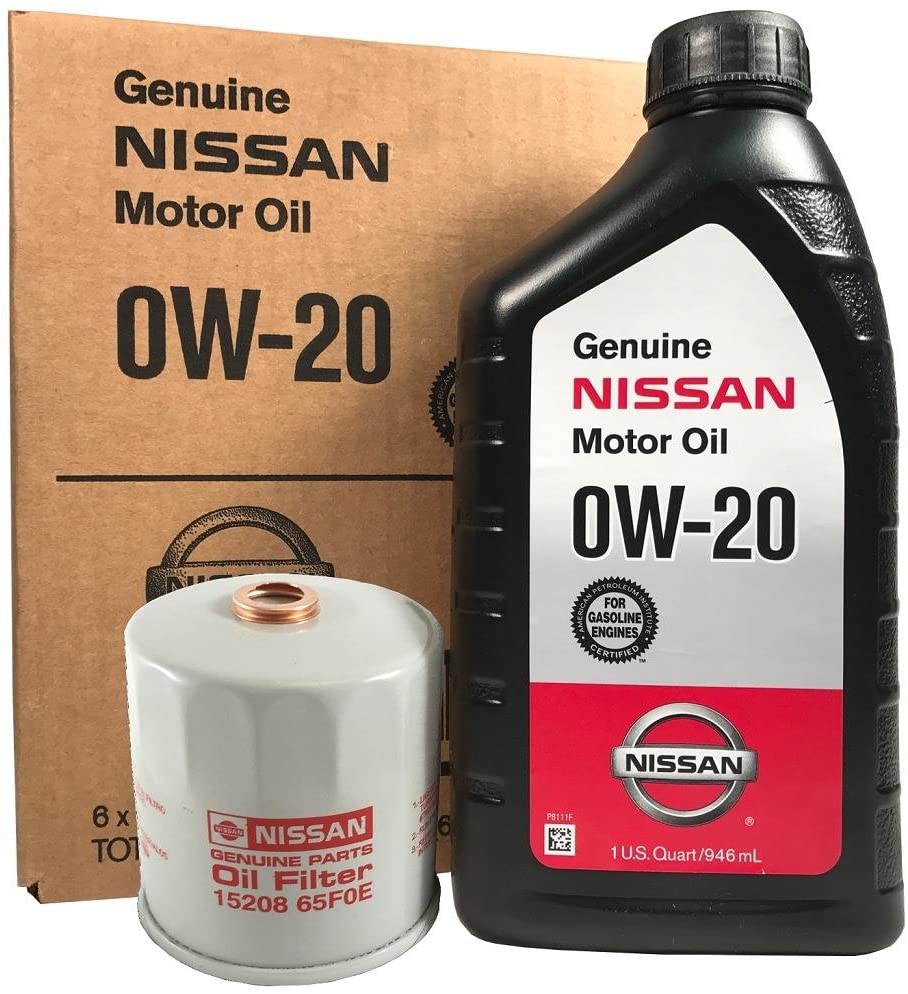
Oil (by manufacturer) – Nissan recommends using Nissan Genuine Synthetic 0W-20 Motor Oil for 2017 Nissan Rogue.
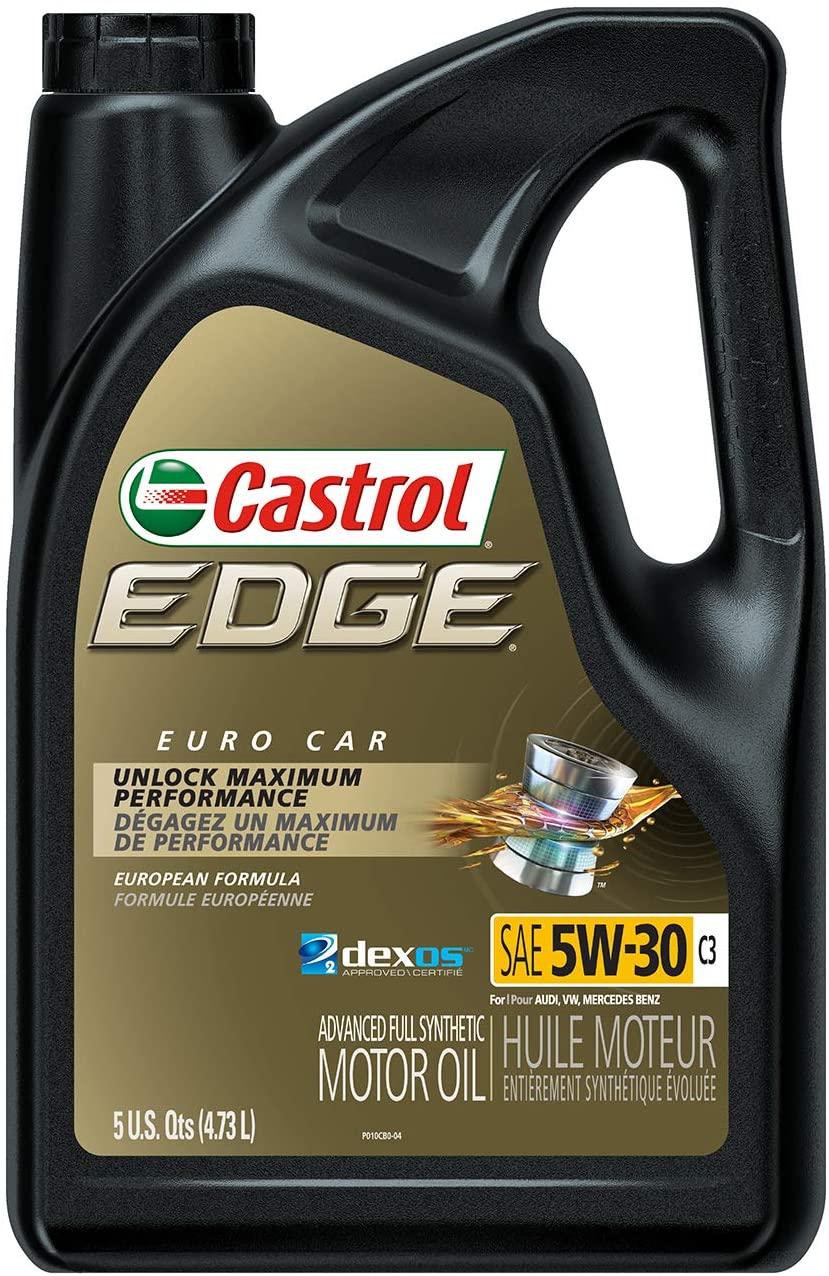
Oil (our choice) – Castrol Edge 5W-30 Advanced Full Synthetic Motor Oil for 2017 Nissan Rogue is a high-tech motor oil. The safe and beneficial use of this product will provide a great performance after oil change.
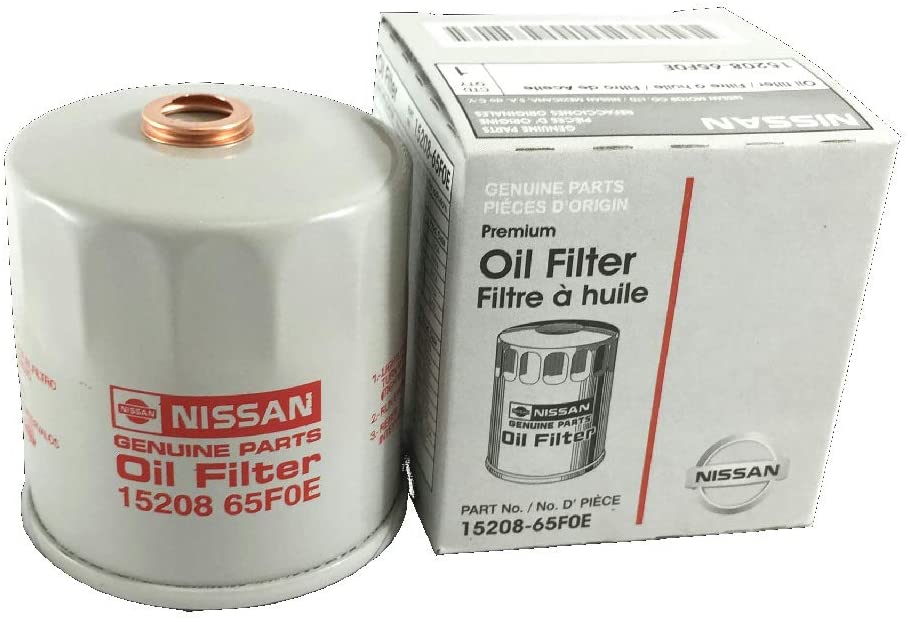
Oil filter (by manufecturer) – If you are looking for which oil filter is perfect for your 2017 Nissan Rogue then check out this Genuine Nissan Parts – Authentic Oil Filter.
How to Change Oil by Yourself – Step by Step
Oil 2017 Nissan Rogue can be changed not only by professional. If you want to do it yourself – don’t worry, it is a rewarding experience, and doing it on your own car will save you some money. The process can be tricky so we’ve put together this step-by-step guide to help you through the whole thing. Just follow our simple steps.
Step 1.
We’re going to go through the how tools and what you’re going to need to do the job.
Gratefully, it’s a pretty straightforward supply list and what we need to do an oil change very standard with any other vehicle. First things first, you need some oil. So, the Nissan Rogue calls for 0W-20. You can get Nissan spec or you can also look for any reputable manufacturer. And also, if you really want to make sure it’s a good brand reputable, you want to look for this API service certification.
For oil filters. Honestly, anything that’s on sale, and also reputable is great. Though there’se a Genuine Nissan oil filters, really any filters going to do the trick. The good news on the Rogue is it actually has a pretty conservative oil change interval Nissan recommends you change the oil every 5000 Miles. And it’s good that the car has a built in mileage indicator, it will let you know when it’s time to both rotate the tires and change the oil.
Step 2.
In order to get the oil drain plug off, it’s a 14 millimeter measurement. So, we get a socket. Use just a standard socket wrench to in order to get that on and off. Also need an oil drain pan which you already have in place underneath the car. And with that we’ll be off to the races.
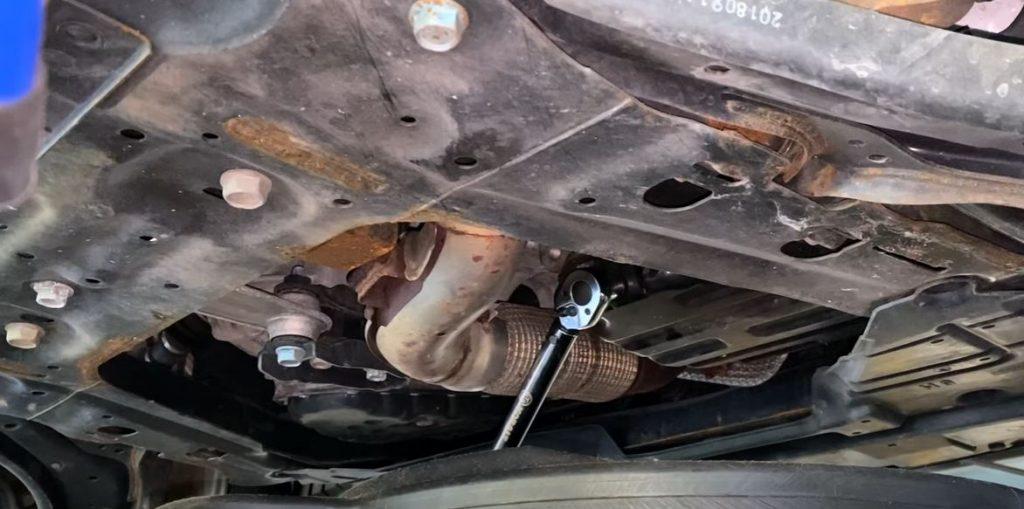
So, to get familiar with where exactly we’re going to be working, let’s look underneath the car, you’ll see that this is the main exhaust run, this is a really helpful reference point underneath this car right next to it this. So, as we’re looking at it immediately left, this is the oil drain pan. So on the back of it is our drain plug. Again, that’s going to be a 14 millimeter. We’re just going to use that for the drain the oil filter, you’ll notice you can’t really see it here. That’s because it’s actually on the side. Within the wheel well and it’s helpful to be able to lift the car up to get here, you’ll see this protective plastic barrier. And underneath that is our oil filter, which we’ll need to access for draining.
Okay, so we have our oil filter in place, you’ll see we have our drain plug right there might be a little bit fame trying to boost the brightness. So, we’re gonna get our socket on there. And again, breaker bar is probably going to be helpful here, you can also use a larger ratcheting socket. And we’ll use that to help break the oil plug there.
And then you’ll feel the thread be just about loose. And then we’re going to swiftly take it out of the way and let the oil drain out.
It’s gonna take a couple minutes about to drain. So we’ll let that go ahead and drain.
Step 3.
You can see this then oil stream. See if you can move the oil drain pan over still catching what’s left of the wells that drains off and you’ll see this protective cover which is covering our oil filter, which we need to get off. You can get an oil wrench, which can use to get those oil filters off since it does a smaller filter on this car. And so all we have to do is we have to get this oil filter off. Let it drain down into our pan.
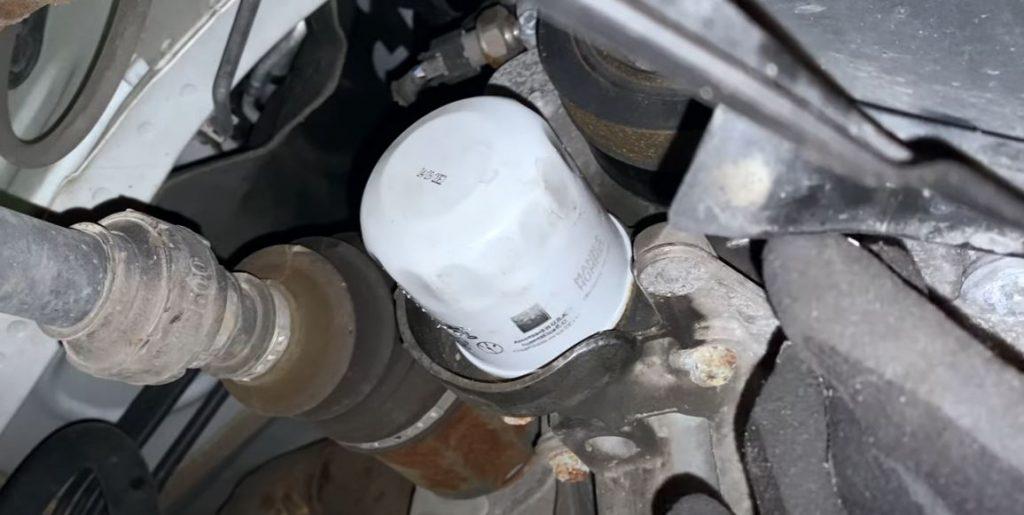
Don’t feel don’t be afraid to do that. But with the oil filter now loosened, we’re going to continue to hand loosen it here.
And what we’ll do is you want to be careful because obviously that oil is going to start dripping. So again, we have our pan underneath. So we’re going to go ahead and loosen it, and let it just gradually drip in once.
Go ahead and let it drain a little bit there. And once you have it free, you’re just gonna take it straight down into the oil pan just to minimize any mess.
The oil filter is off. One thing you want to be sure that comes off is the gasket. So you can see nice metal exposure there. That’s exactly what we want to see, the gasket would be black, or if it’s a silicone gasket, it would be red, we want to be sure that comes off so we can get a good new seal when we put the new filter on.
Step 4.
And so, speaking of the new filter, we’re going to go and bring it in here. One thing that we’re going to do is we’re just going to wet the gasket with the oil. The fact of the matter is it just needs to be oil, because the whole point of doing this is that it gets the gasket, the gasket can make a good seal on its own. But this helps it properly mate to the surface. So, it’s okay if it’s dirty oil. If you want to use new oil, that’s fine too. We’re gonna go ahead and put it back in place.
Hand crank it is the way we always recommend doing this. Because if you use a wrench, you’re going to be back in the same spot you were before trying to get it off hand wrenching it is the best thing here.
You’ll see it’s good and snug. So we want to try to take another half turn to be sure it’s really on there. And then we’re going to tighten it up with the socket wrench after that, but I like getting it nice and secure first.
Step 5.
Let’s go ahead and add our oil and we have our funnel in place and we have our oil. As a quick reminder, this car takes four quarts of oil, not the full five. So while the traditional oil that you’ll buy has five quarts, just bear that in mind as you’re filling up. So do it nice and slow. And be sure to check your dipstick once you’re done.
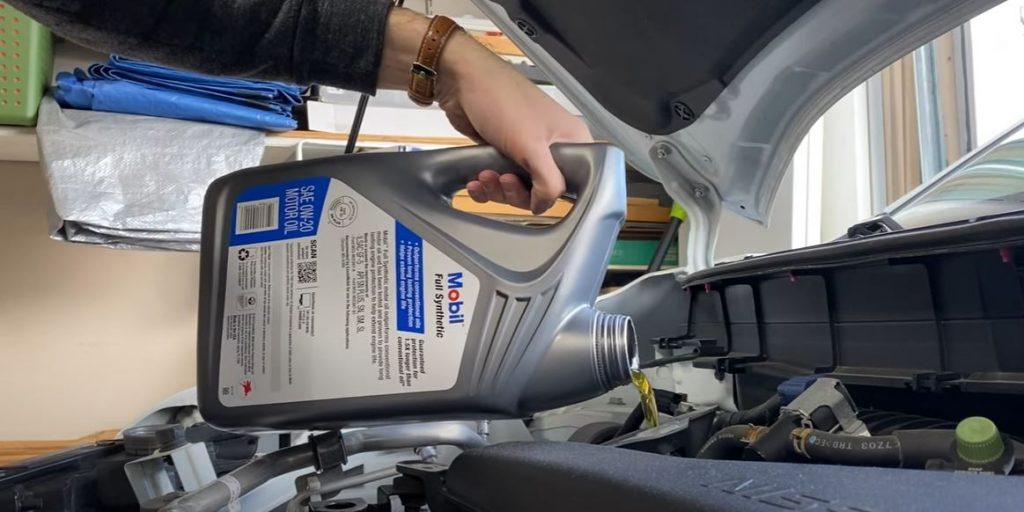
With all the oil in now we’re going to give it a test fire just to make sure that we have oil pressure, nothing weird happening.
Step 6.
So we’ll go ahead and start her up.
And again, just making sure we don’t get any weird things coming up on here, outside of just the typical alerts.
Now one last thing that we want to be sure we can reset is the maintenance oil filter alert. So, within the settings and you know, you have all the different things here, we want to be sure we go to settings and you can scroll down using the arrow key here. We’re going to scroll down to maintenance, oil and filter. You’ll see there was a tire alert there too. We’ll be doing a tire rotation video separately but oil and filter is what we want to do. And then we want to hit reset.
And there we go. Obviously don’t do this so you can cheat step it you know honor, honor the recommended interval but that’s a really easy way that you can be sure that you’re doing your oil filter change and being reminded as needed.
Great outside of that, be sure to recycle your oil. You can drop it off at any auto parts store. Same thing with the oil filter.
Congratulations with successful oil change!


