The Chevy Sonic is a compact car that was manufactured by Chevrolet. It’s a perfect car for someone who likes to take care of their own vehicle, and doesn’t want to pay an auto mechanic every time there’s something wrong with it. In this blog post, we’ll show you how to change the oil in your 2014 Chevy Sonic. This will help keep the engine running smoothly without any unnecessary wear on it from old oil.
It’s a good idea to know how to change your oil by yourself, but it can be a little intimidating for those who have never done it before. In this blog post, we’ll show you the step-by-step process for changing your own oil.

2014 Chevy Sonic Oil Change Guide [hide]
2014 Chevy Sonic Oil Type

If you want to save some money by changing oil yourself, then you’ve come to the right place! We’re going to walk you through step by step changing the 2014 Chevy Sonic oil, fist you must check your owner’s manual and follow our instructions.
VISCOSITY GRADE
The 2014 Chevy Sonic takes synthetic motor oil, 5W-30. SAE 5W-30 is recommended for all weather while 0W-30 can be use only below -29.
CAPACITY
The 2014 Chevy Sonic 1.4L 4Cylinder and the 1.8L 4Cylinder FlexFuel engines take 4.2 quarts, and the 1.8L 4Cylinder version without flex capabilities takes 4.8 quarts.
SPECIFICATION OF OIL
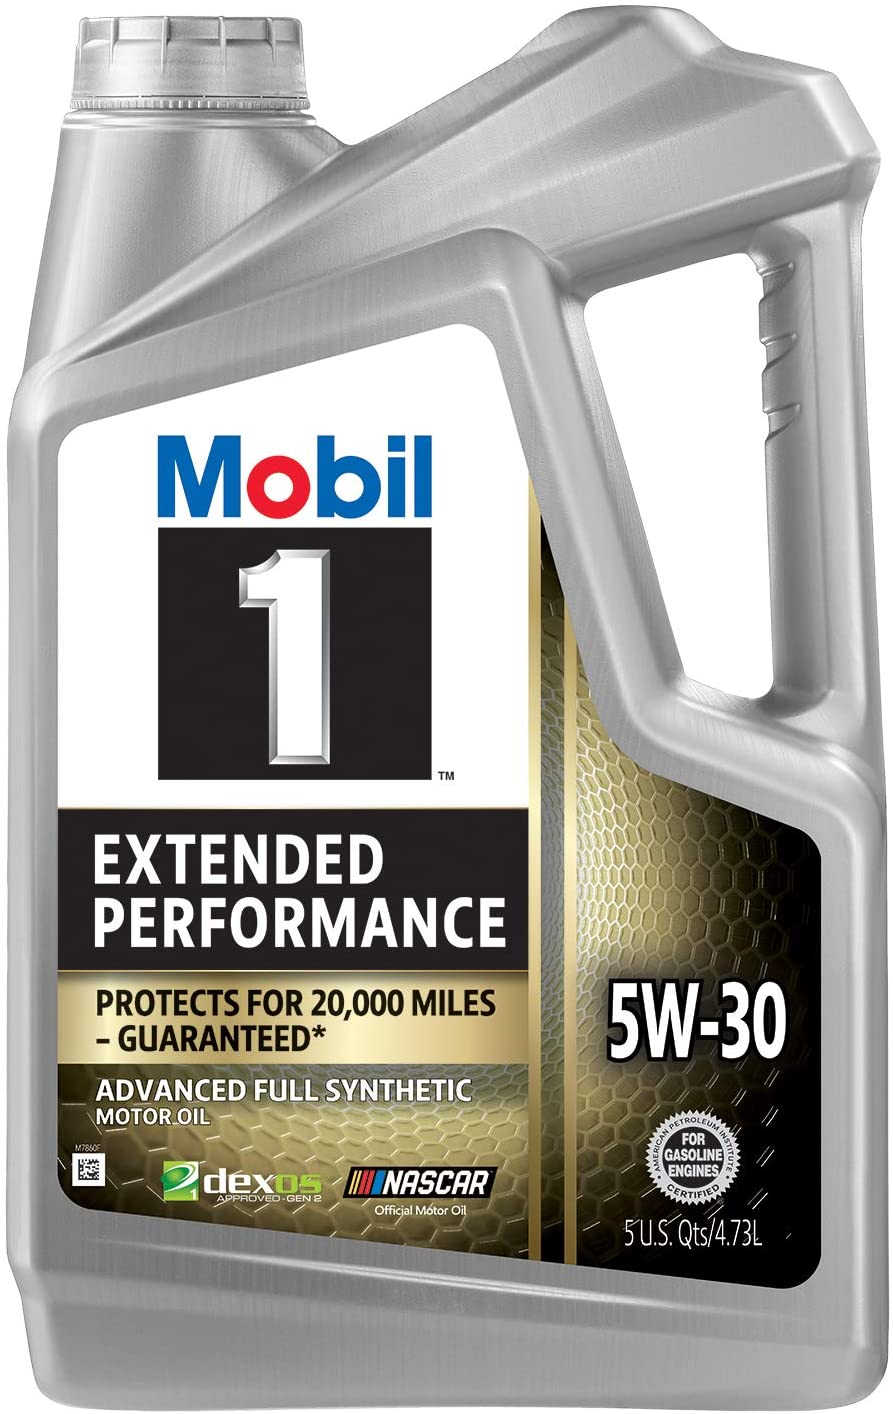
This specification that is recommended by Chevrolet was updated to Dexos1 Gen 2. So, it can be Mobil 1 motor oil or any oil brand with The Dexos sticker. These are certificated oil brands and a full synthetic oils that can be used in engines from Chevy.
HIGH MILEAGE OIL FOR 2014 Chevy Sonic
Mobil 1 High Mileage 5W-30 Full Synthetic Motor Oil fits perfectly for this car. It is specially formulated for vehicles with over 75,000 miles and the natural choice for consumers who want to extend maximum engine performance.
2014 Chevy Sonic Oil Change Intervals
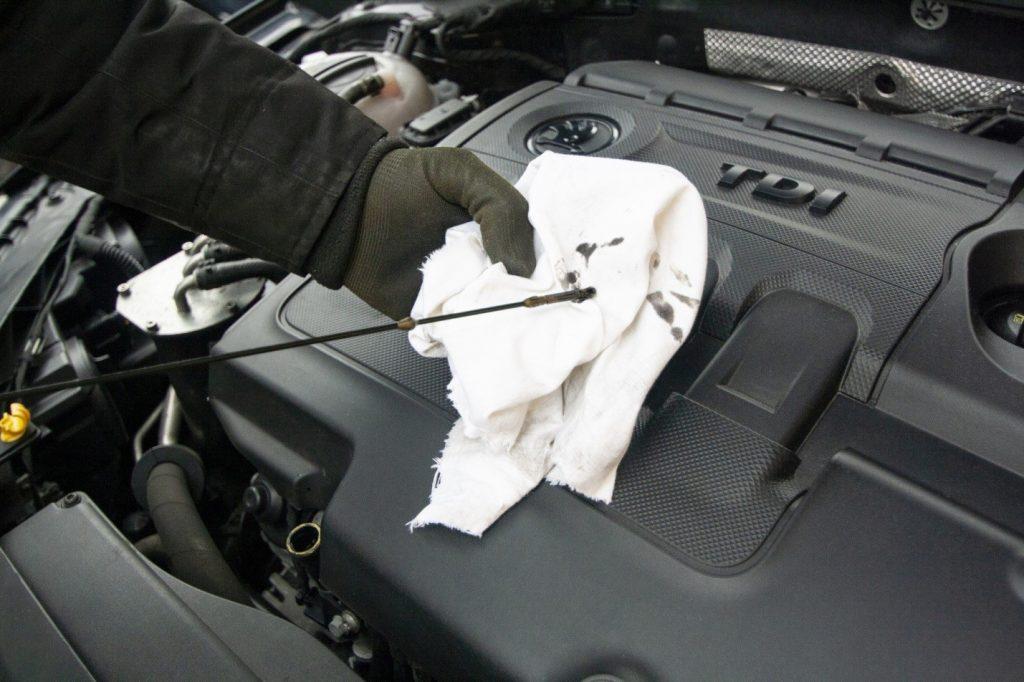
According to the 2014 Chevrolet Sonic maintenance schedule, yiou must change oil and oil filter every 7500 miles or every 6 months, whichever comes first. In addition, Chevrolet recommends an alternative schedule for customers who frequently drive under severe conditions. So you can do itmore often if you drive a lot on dusty roads. In any case, do not postpone the oil change more than 12000 miles (20 000 km).
The best practice is to perform this task yourself, because it will save you money and keep your Chevrolet Sonic safe for a long time. Moreover, the car won’t annoy you with unnecessary and expensive trips to the service station.
Best Oil for 2014 Chevy Sonic

Choosing the right oil for 2014 Chevrolet Sonic can be difficult. This article will help you to make the best choice. The right weight motor oil is likely to provide good fuel economy, engine protection and to meet the recommended oil change intervals for your car. Let’s start with some background information.
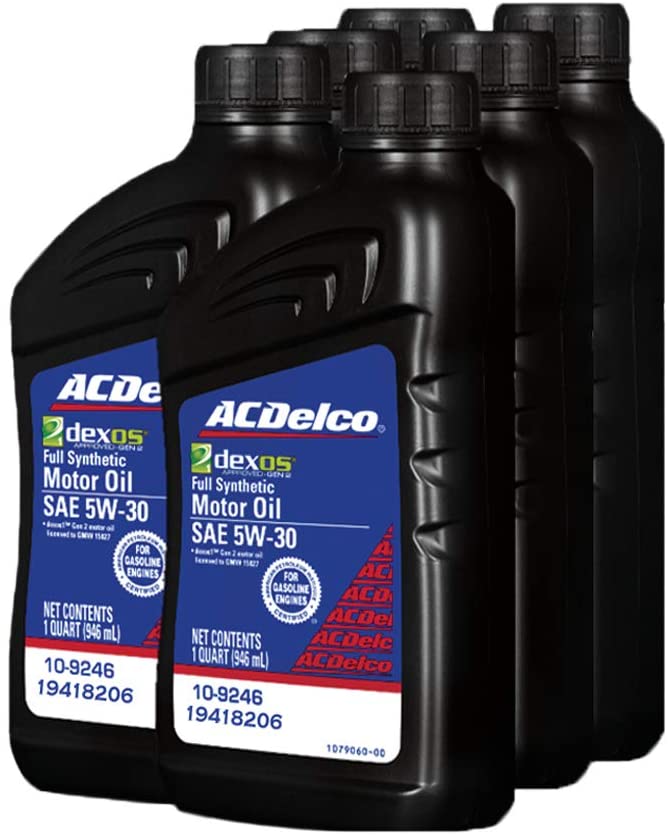
Oil (by manufacturer) – Chevy recommends using ACDelco Original Equipment dexos1 5W-30 Full Synthetic Motor Oil. Synthetic oil will improve the protection provided to the engine by the lubricant.
Oil (our choice) – Mobil 1 120764 5W-30 Synthetic Motor Oil for 2014 Chevrolet Sonic is safe to use. It can provide better gas mileage, engine protection and performance for your 2014 Chevrolet Sonic engine.
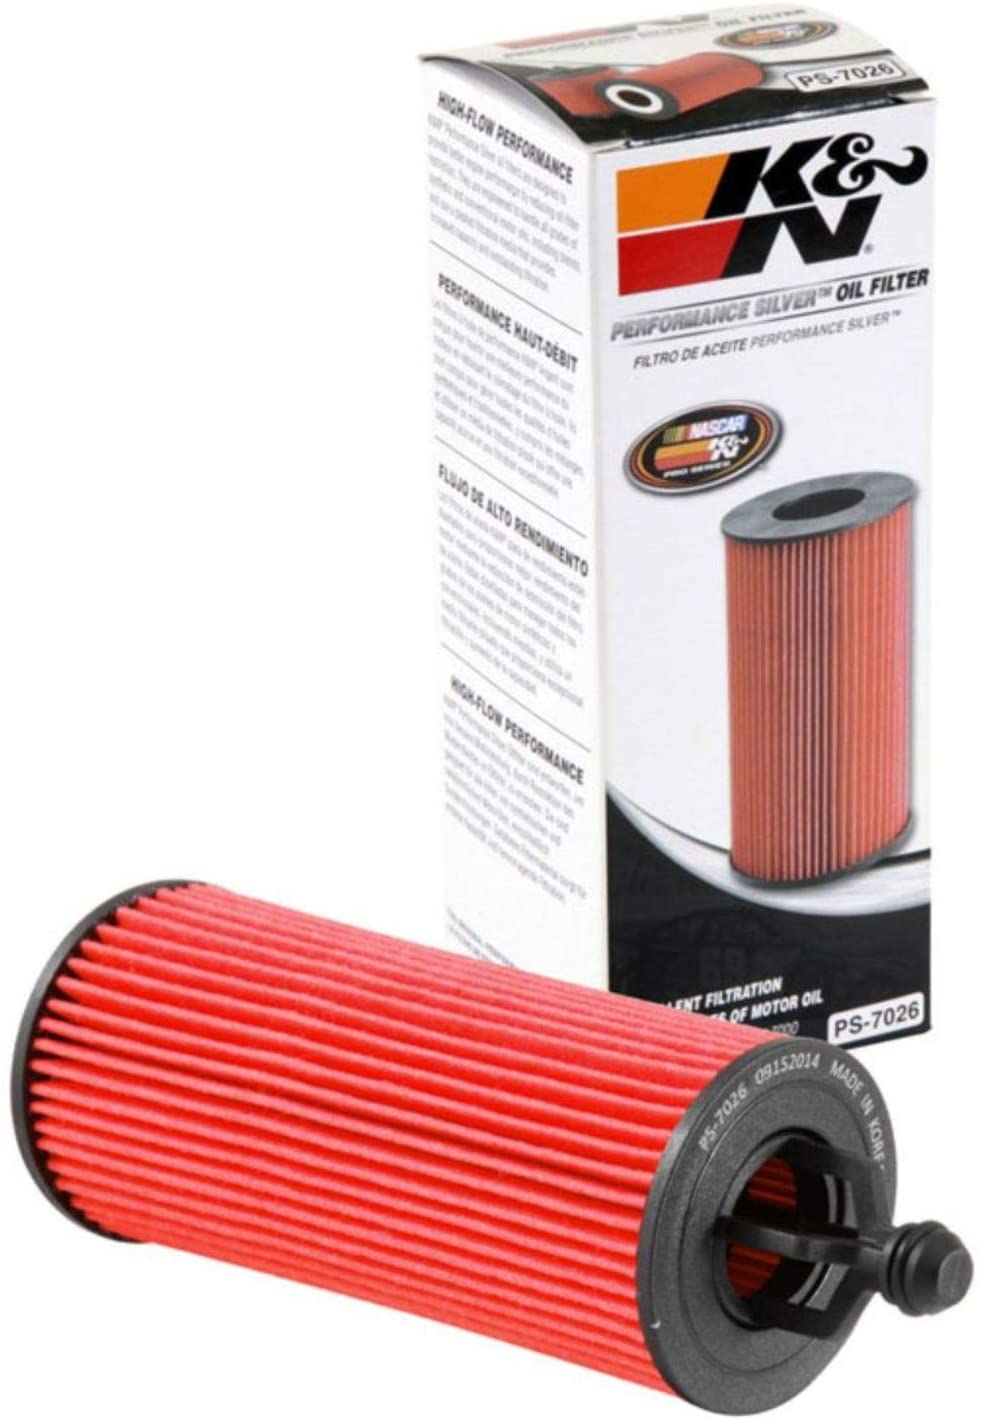
Oil filter (by manufecturer) – If you are looking for which oil filter is perfect for your 2014 Chevrolet Sonic then check out this K&N Premium Oil Filter.
How to Change Oil by Yourself – Step by Step
The Chevy Sonic is a small car that drives even smaller. If you are looking for a compact vehicle to save on gas, the 2014 Chevy Sonic is perfect. The Chevrolet Sonic has plenty of room inside and out with its modern interior design and sleek exterior shape.
If you are thinking about buying the 2014 Chevy sonic but have never changed oil in your life before then this article will be very helpful because we’re going to walk you through step by step.
Step 1.
Let your car warm up for about 15 or 20 minutes, get that oil nice and warm. Get your oil pan, and then we’re going to go down underneath to where the oil comes out on the bottom.
Alright, here’s the front of the car, there’s the hood, we’re gonna go down underneath, we’re gonna put the oil pan right underneath. You’ll have the exhaust coming out right here. Back right hand corner, you’re gonna have the drain plugs. So now we’re gonna get a wrench so we can pop that off, and it’ll drain the oil down in the oil pan. But be careful because oil is hot. So, you don’t want to have your hand directly underneath there. We’re gonna let this drain out. And then we’re gonna go back up top so we can pull the well it’s kind of like a filter.
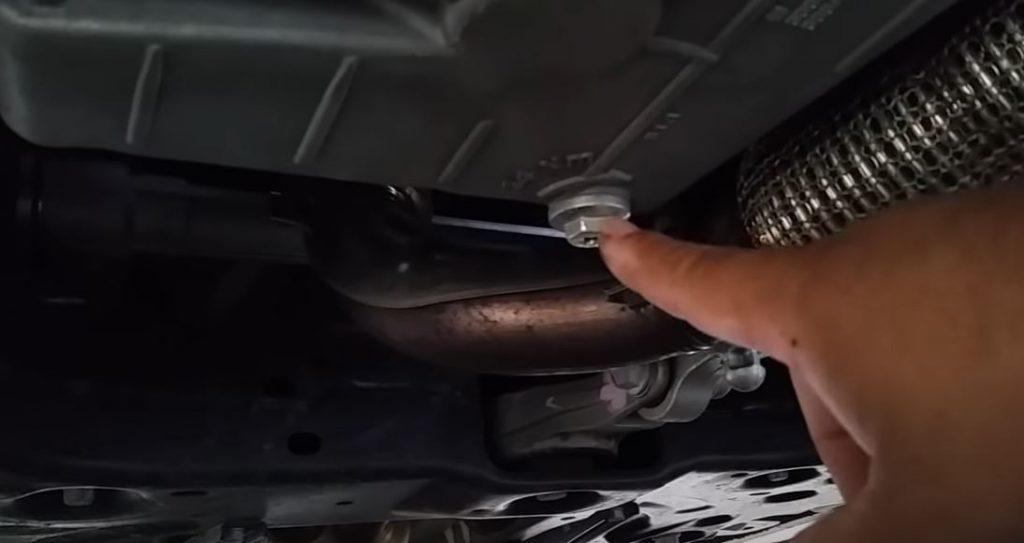
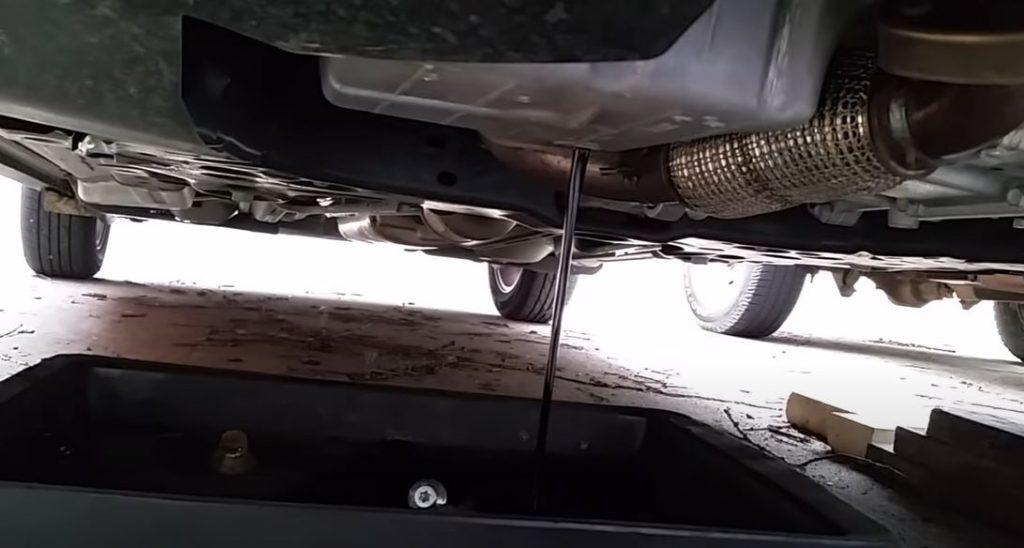
Step 2.
Take a 13 millimeter bolt. Here’s the front of the motor depending on which way your motor is facing, you’re going to look on either side of the exhaust manifold, and just to the right of this one. Because that is where your oil filter or cartridge is going to be.
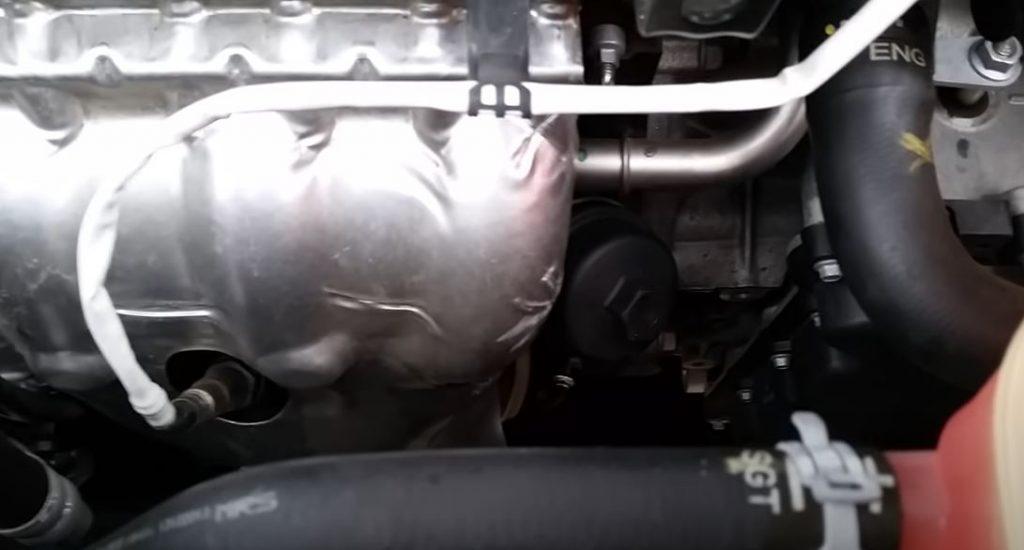
Pull the old filter out. Then all you do is you take that, put it back in the hole, make sure that your rubber O ring right here didn’t come out of place, because that’s gonna help to make the seal. When you put that back in there. With your wrench, put it back in there counterclockwise, which is this way counterclockwise. To the right, you’re going to screw that all the way in until it stops. Once it stops just a little tiny snug up. Next it you don’t want to over tighten that because you’re going to break the plastic, you’re going to break the nut piece on the outside, it doesn’t have to go in there. Super hard, super tight. That’s what the O ring is for, it helps to create a seal in there. Put the new filter back in.
Step 3.
Now, we’re going to go back underneath, we’re going to go ahead and put some of these tools away. And all we got to do is put our oil cap back on there. Take your old oil filter, put it back in the box that can go in the trash. You don’t have to worry about that. Unless check your area. If you can’t put those in the trash, then you might want to have, you might have to take it to somewhere to have it properly disposed of. As far as your old oil.
Finger tight the plug, you want to go until it’s snug. And then about an eighth to a quarter turn more is about all you’re going to need down there. Because it also has a seal on it.
Step 4.
And then we’re gonna pour our new oil in. If you haven’t figured out what your oil is, right here on the top, this is what it says you want to look at the oil fill cap. And it’ll tell you exactly what type of oil to get.
Step 5.
Then we’ll start it up, drive it off, let it sit on level, turn the car back off. And then we’ll go through the process of checking the oil.
