There are many benefits to learning how to change oil by yourself. One benefit is that you save money on the cost of hiring someone else to do it for you, which can be costly depending on where you live. Another benefit is that you will gain a lot of knowledge about your car and what’s inside of it, which can help prevent any future problems from occurring.
As a car owner, it is important to make sure your 2012 Chevy Malibu vehicle runs properly and efficiently. One of the best ways you can do this is by changing the oil yourself. It’s a simple step-by-step process that only takes about thirty minutes from start to finish if done correctly. In this article I will provide all necessary information needed for you to complete this task on your own without any problems.

2012 Chevy Malibu Oil Change Guide [hide]
2012 Chevy Malibu Oil Type
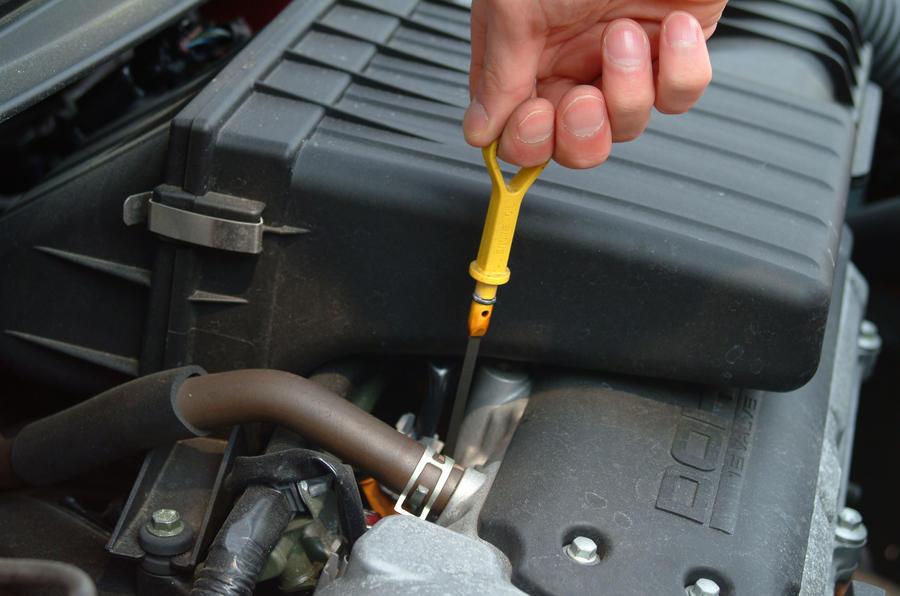
If you’re going to change your 2012 Chevy Malibu vehicle oil yourself, you need to read the owner’s manual first, as every Chevrolet vehicle might have a different oil change interval and procedure. Here we’ll be using a 2012 Chevy Malibu as an example, but the rules apply to every Chevrolet car in general.
If you want to save some money by doing it yourself, then you’ve come to the right place! We’re going to walk you through step by step changing the 2012 Chevy Malibu oil, just follow our instructions and you should be fine.
VISCOSITY GRADE
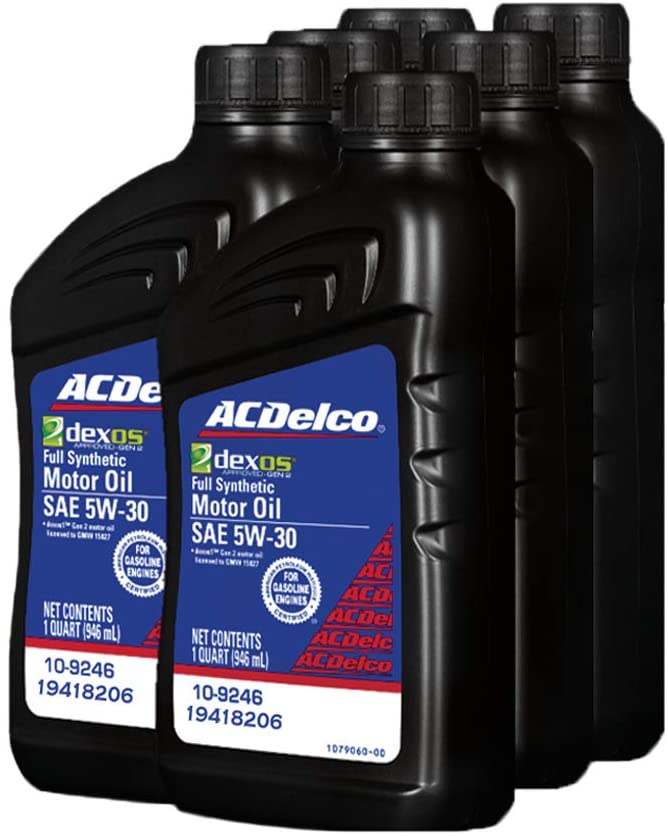
Use synthetic motor oil 5W-30 for your 2012 Chevy Malibu, as SAE 5W-30 is recommended for all weather.
CAPACITY
The capacity for the car is 5 quarts with a filter for the 2.4 L 4-cyl and 6 quarts with a filter for the 3.6 L V6 engine.
SPECIFICATION OF OIL
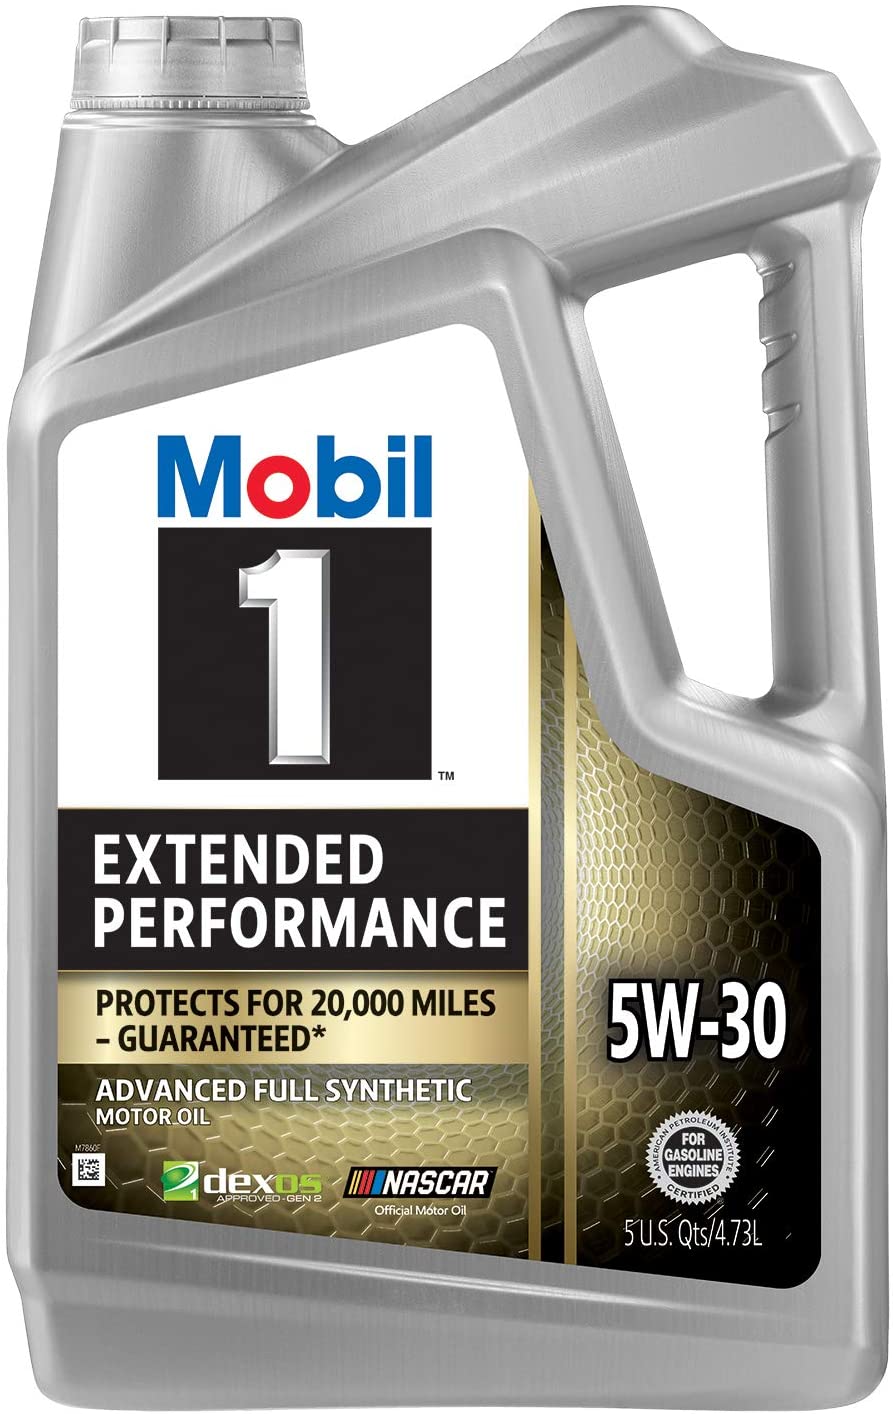
This specification that is recommended by Chevrolet was updated to Dexos1 Gen 2. So, it can be Mobil 1 motor oil or any oil brand with The Dexos sticker. These are certificated oil brands and a full synthetic oils that can be used in engines from Chevy.
HIGH MILEAGE OIL FOR 2012 Chevy Malibu
Mobil 1 High Mileage 5W-30 Full Synthetic Motor Oil is specially formulated for vehicles with over 75,000 miles and the natural choice for consumers who want to extend maximum engine performance.
2012 Chevy Malibu Oil Change Intervals

Chevy recommends getting your 2012 Chevy Malibu oil & filter changed any 3,000-5K for conventional oil. Synthetic should be replaced at 7500 – 10k miles to optimize performance and extend engine life span. Follow the right intervals and you’ll get maximum engine protection and performance. At the same time, this will help maintain your warranty.
As a rule of thumb, Chevrolet recommends that you change your oil every 3 months or 3,000 miles. This is the average mileage interval for both conventional and synthetic oils in most cars. Of course, these are just recommendations and can vary by manufacturer and/or region. If you drive like a lead footed granny (low speeds & short distances), you might want to follow the 3K-mile rule. If you drive like a speed racer (high speeds & long distances), it’s probably best to change your oil every 5K-7.5K miles. For most of us, somewhere in between is recommended and that’s around 5,000 miles or 6 months, whichever comes first.
Best Oil for 2012 Chevy Malibu
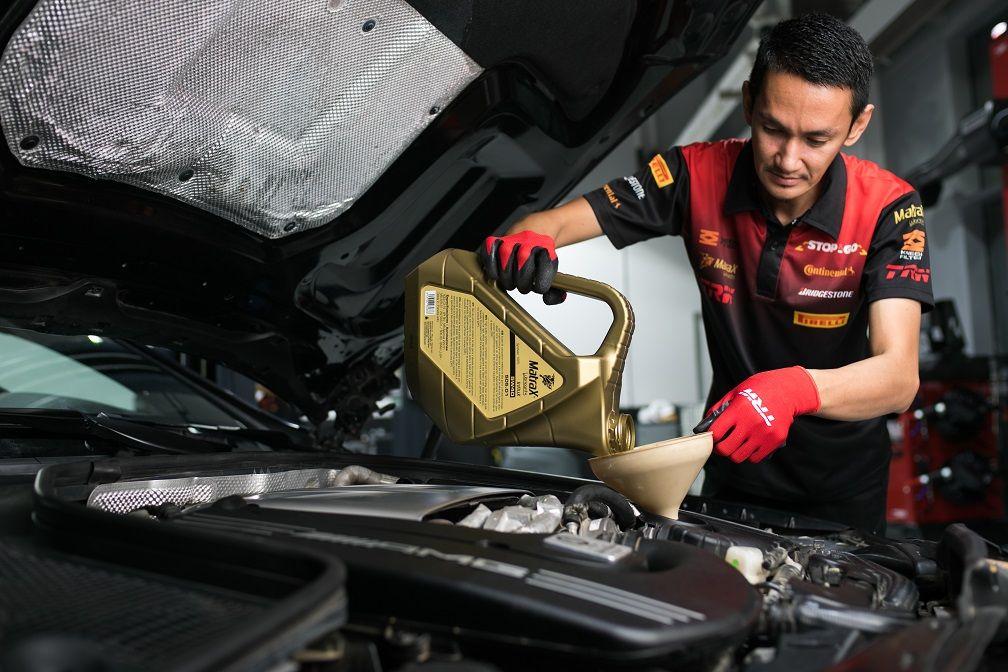
Choosing the right oil for 2012 Chevy Malibu can be difficult. This article will help you to make the best choice. The right weight motor oil is likely to provide good fuel economy, engine protection and to meet the recommended oil change intervals for your car. Let’s start with some background information.
Oil (by manufacturer) – Chevy recommends using ACDelco Original Equipment dexos1 5W-30 Full Synthetic Motor Oil. Synthetic oil will improve the protection provided to the engine by the lubricant.
Oil (our choice) – Mobil 1 120764 5W-30 Synthetic Motor Oil for 2012 Chevy Malibu is safe to use. It can provide better gas mileage, engine protection and performance for your 2012 Chevy Malibu engine.
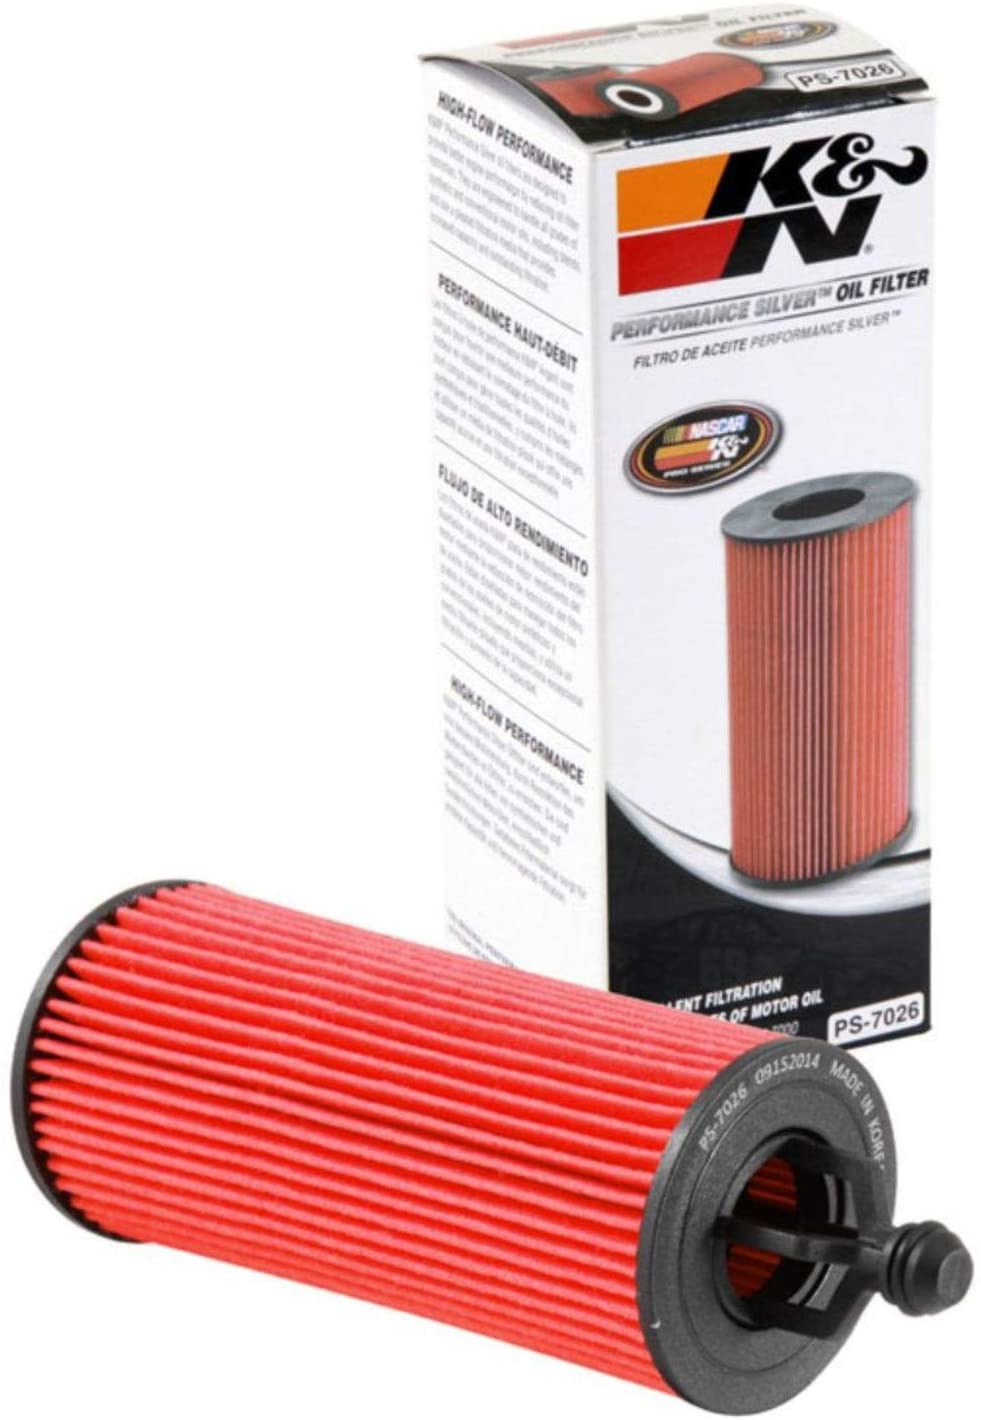
Oil filter (by manufecturer) – If you are looking for which oil filter is perfect for your 2012 Chevy Malibu then check out this K&N Premium Oil Filter.
How to Change Oil by Yourself – Step by Step
The consumer has two basic choices when it comes to vehicle maintenance. They can either take their car in for service at a dealership or they can perform the work themselves. Both options have pros and cons associated with them, but in this article we’ll show you all the steps, so you can change your oil and filter by yourself.
Step 1.
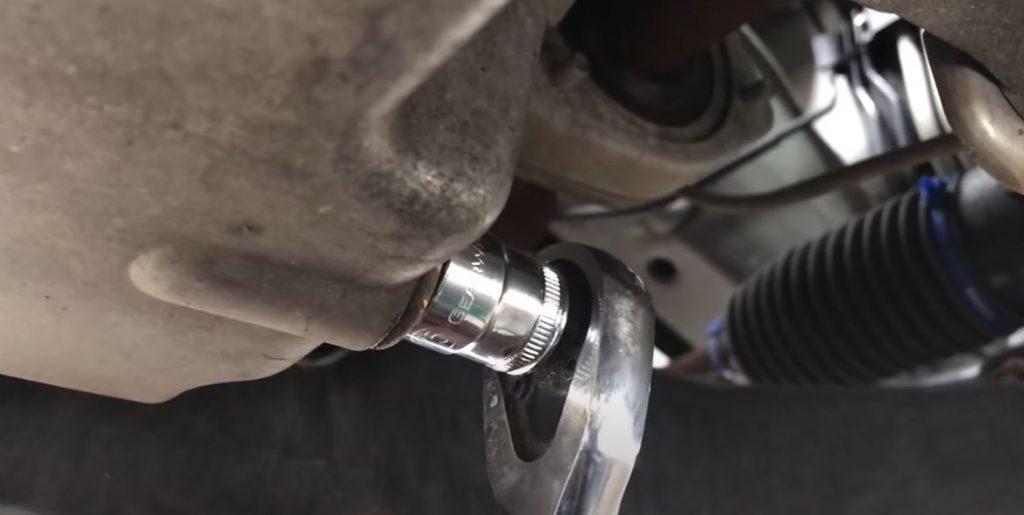
Now we need to drain the oil from the car. So come under the car and place the big pan right under the plug. And there’s a bolt right here. This bolt is going to be a 15 millimeter wrench. Make sure you have a bucket to catch it and just keep using a tool until you can do it by hand to just keep twisting. Let it drain for about 15 to 20 minutes and then come back with putting the bolt on.
Step 2.
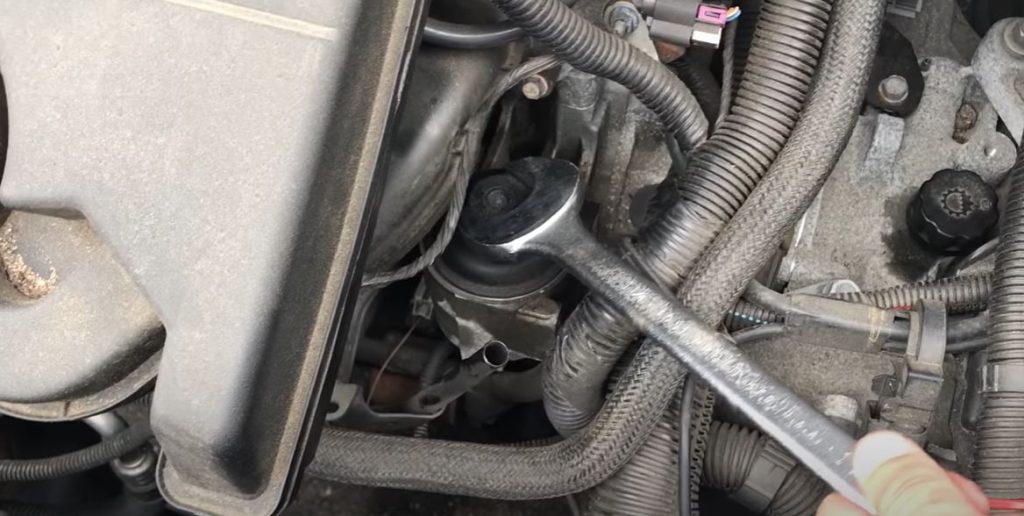
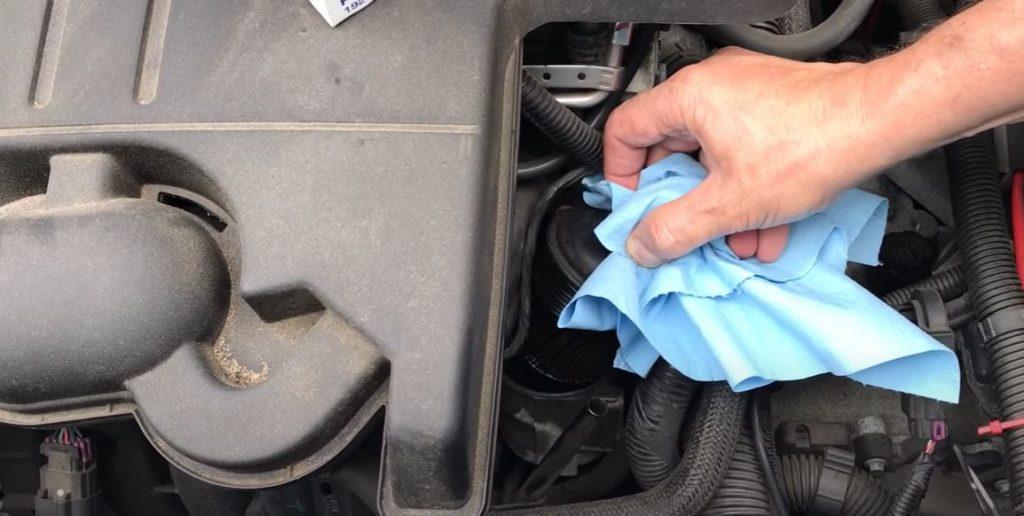
While the oil is draining out we can take our time and replace the filter. So you actually remove the filter just unscrew it and it pulls right out just be careful try not to let it leak on the engine or anything in the engine. And now you can actually pull the filter off from the cap to come just right off.
Step 3.
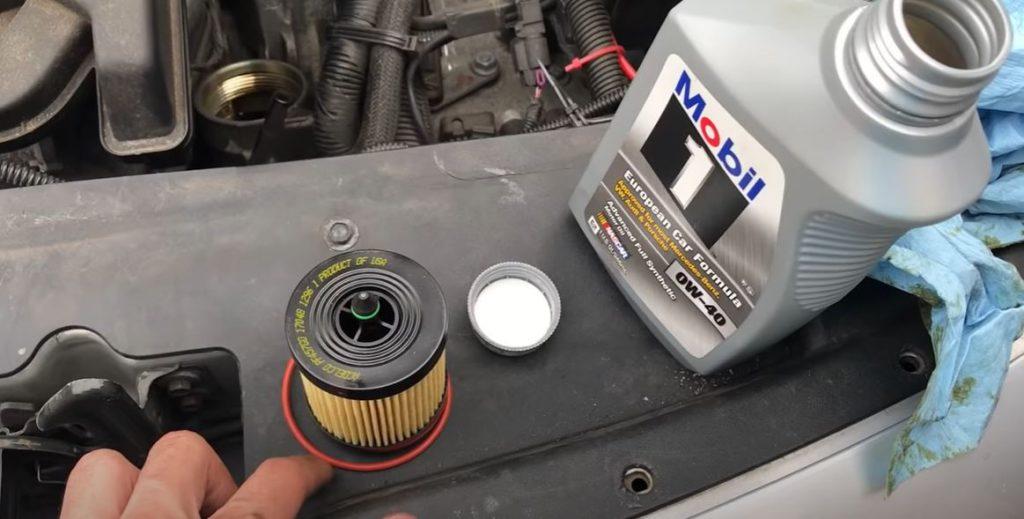
Don’t forget to put the O ring on the new filter. And now once you’ve put the new O ring and put some fresh oil on it, you can just put it right back on where it came off of you put a little more oil on once it’s on the actual cap just to make sure you got enough oil to seal it up well.
And you spin it in and just tighten it don’t go too tight. A lot of people are doing it too tight, about 18 pound feet of torque. It is what it does call for but some people are going way too tight, but you must just do it until it’s hand tight or a little more than hand tight.
Step 4.
After you did the oil filter, it’s time to actually put the bolt back in. This still has a little bit of drift you can either wait or you can put the bolt back in, it’s not really going to make a huge difference. So to start off, you just put it in hand tighten it all the way and then you’re going to use your 15 millimeter wrench and tighten it down all the way again, it doesn’t need to be too tight.
So, once you have that tightened, you go back with filling the car up with oil.
Step 5.
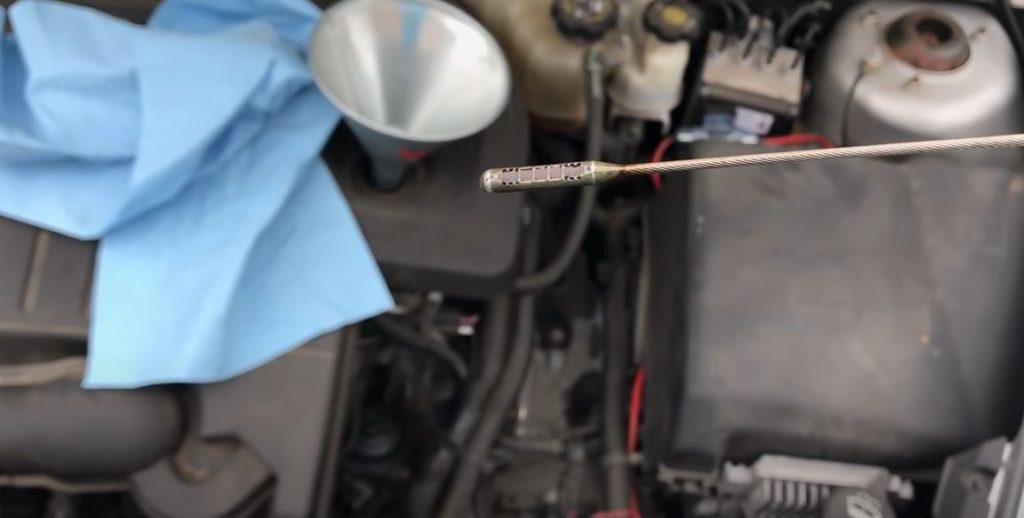
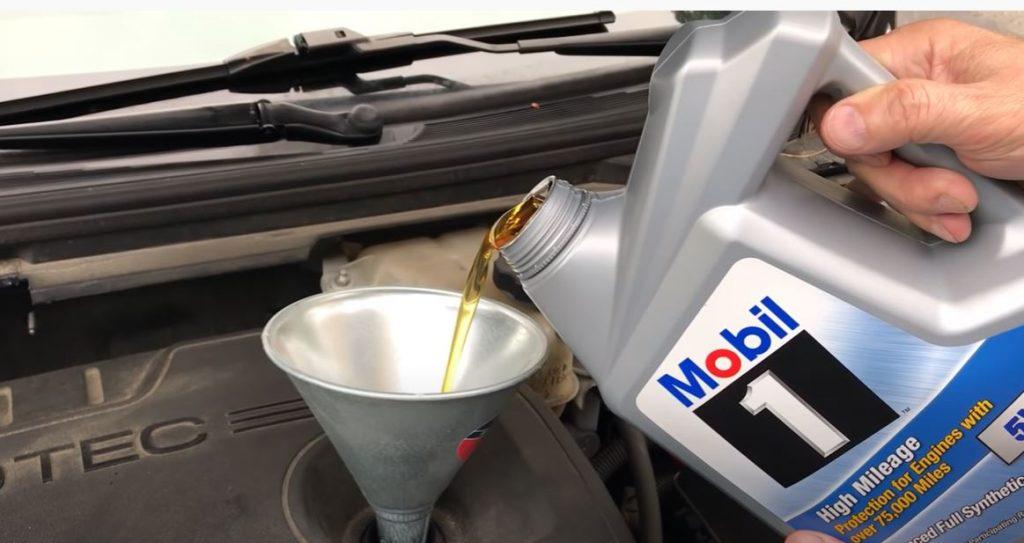
So now it’s time to start filling your car up with oil. You can use a funnel which we would recommend and just pour the oil in and then start checking your level and topping up as needed. Make sure you don’t go too far up to like the top picks that will overflow and will be able to go down so just pour slow and fill it with oil and then put the dipstick in and check as needed.
